
Connect your WhatsApp Business number to Mampu AI using WhatsApp Cloud and Meta’s embedded signup. Once connected, incoming WhatsApp messages arrive in your inbox and your AI agent can reply. You can also import your existing contacts and chat history by scanning a QR code — no separate WhatsApp Cloud API keys required.
Not what you’re looking for? To register a brand-new number as a WhatsApp official (WhatsApp API) account, see Registering a WhatsApp official number. To move a number that’s already on the WhatsApp API with another provider, see Migrating an existing WhatsApp number to Mampu AI.
Two ways to connect
When you pick WhatsApp as the channel, the provider screen offers:
- WhatsApp Cloud — the official route through Meta, documented step by step below. Best for WhatsApp API features such as approved templates and template blasting.
- WhatsApp Business — connect a regular WhatsApp Business number by scanning a QR code with your phone, no Meta setup required. Enter the inbox name and phone number, then scan the code shown to link your WhatsApp — messages start arriving in your inbox right away.
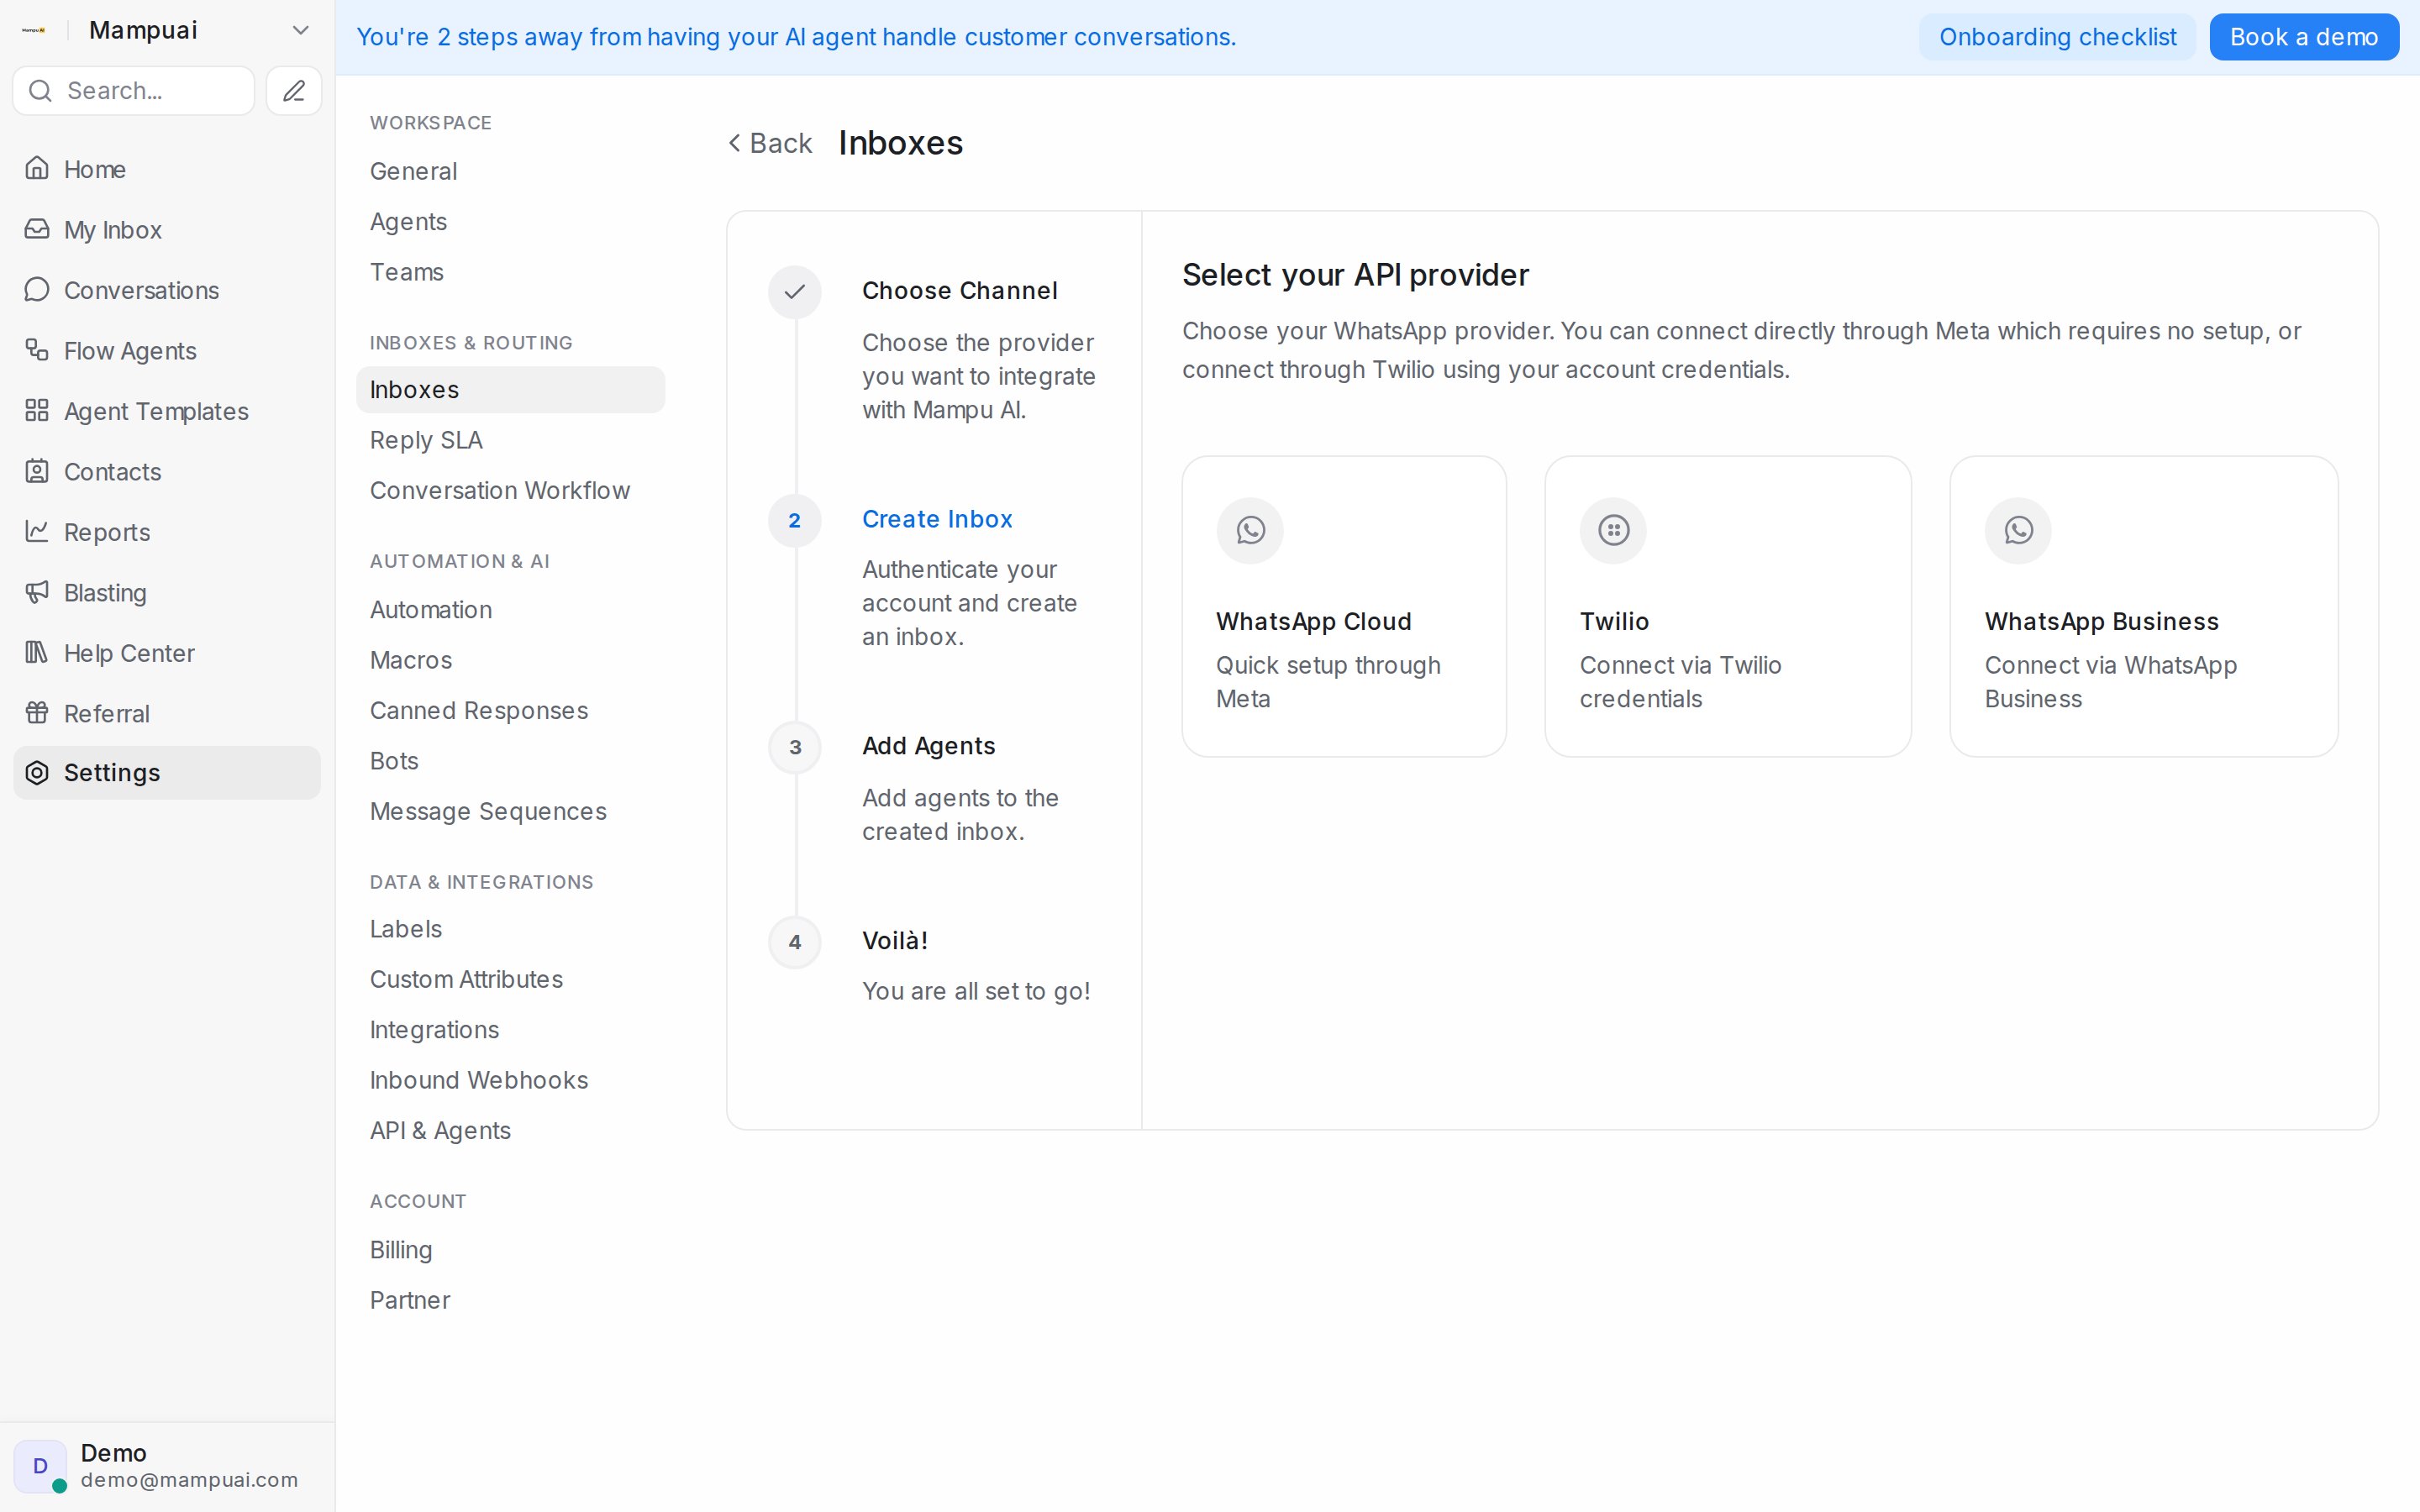
The rest of this guide walks through the WhatsApp Cloud route.
Before you start
- The WhatsApp Business app installed on your phone, with the number you want to connect.
- A Meta Business account (business portfolio) you can log in to.
- Be aware: connecting shares your WhatsApp Business account information — phone number, contacts, chats and chat history — with Mampu AI.
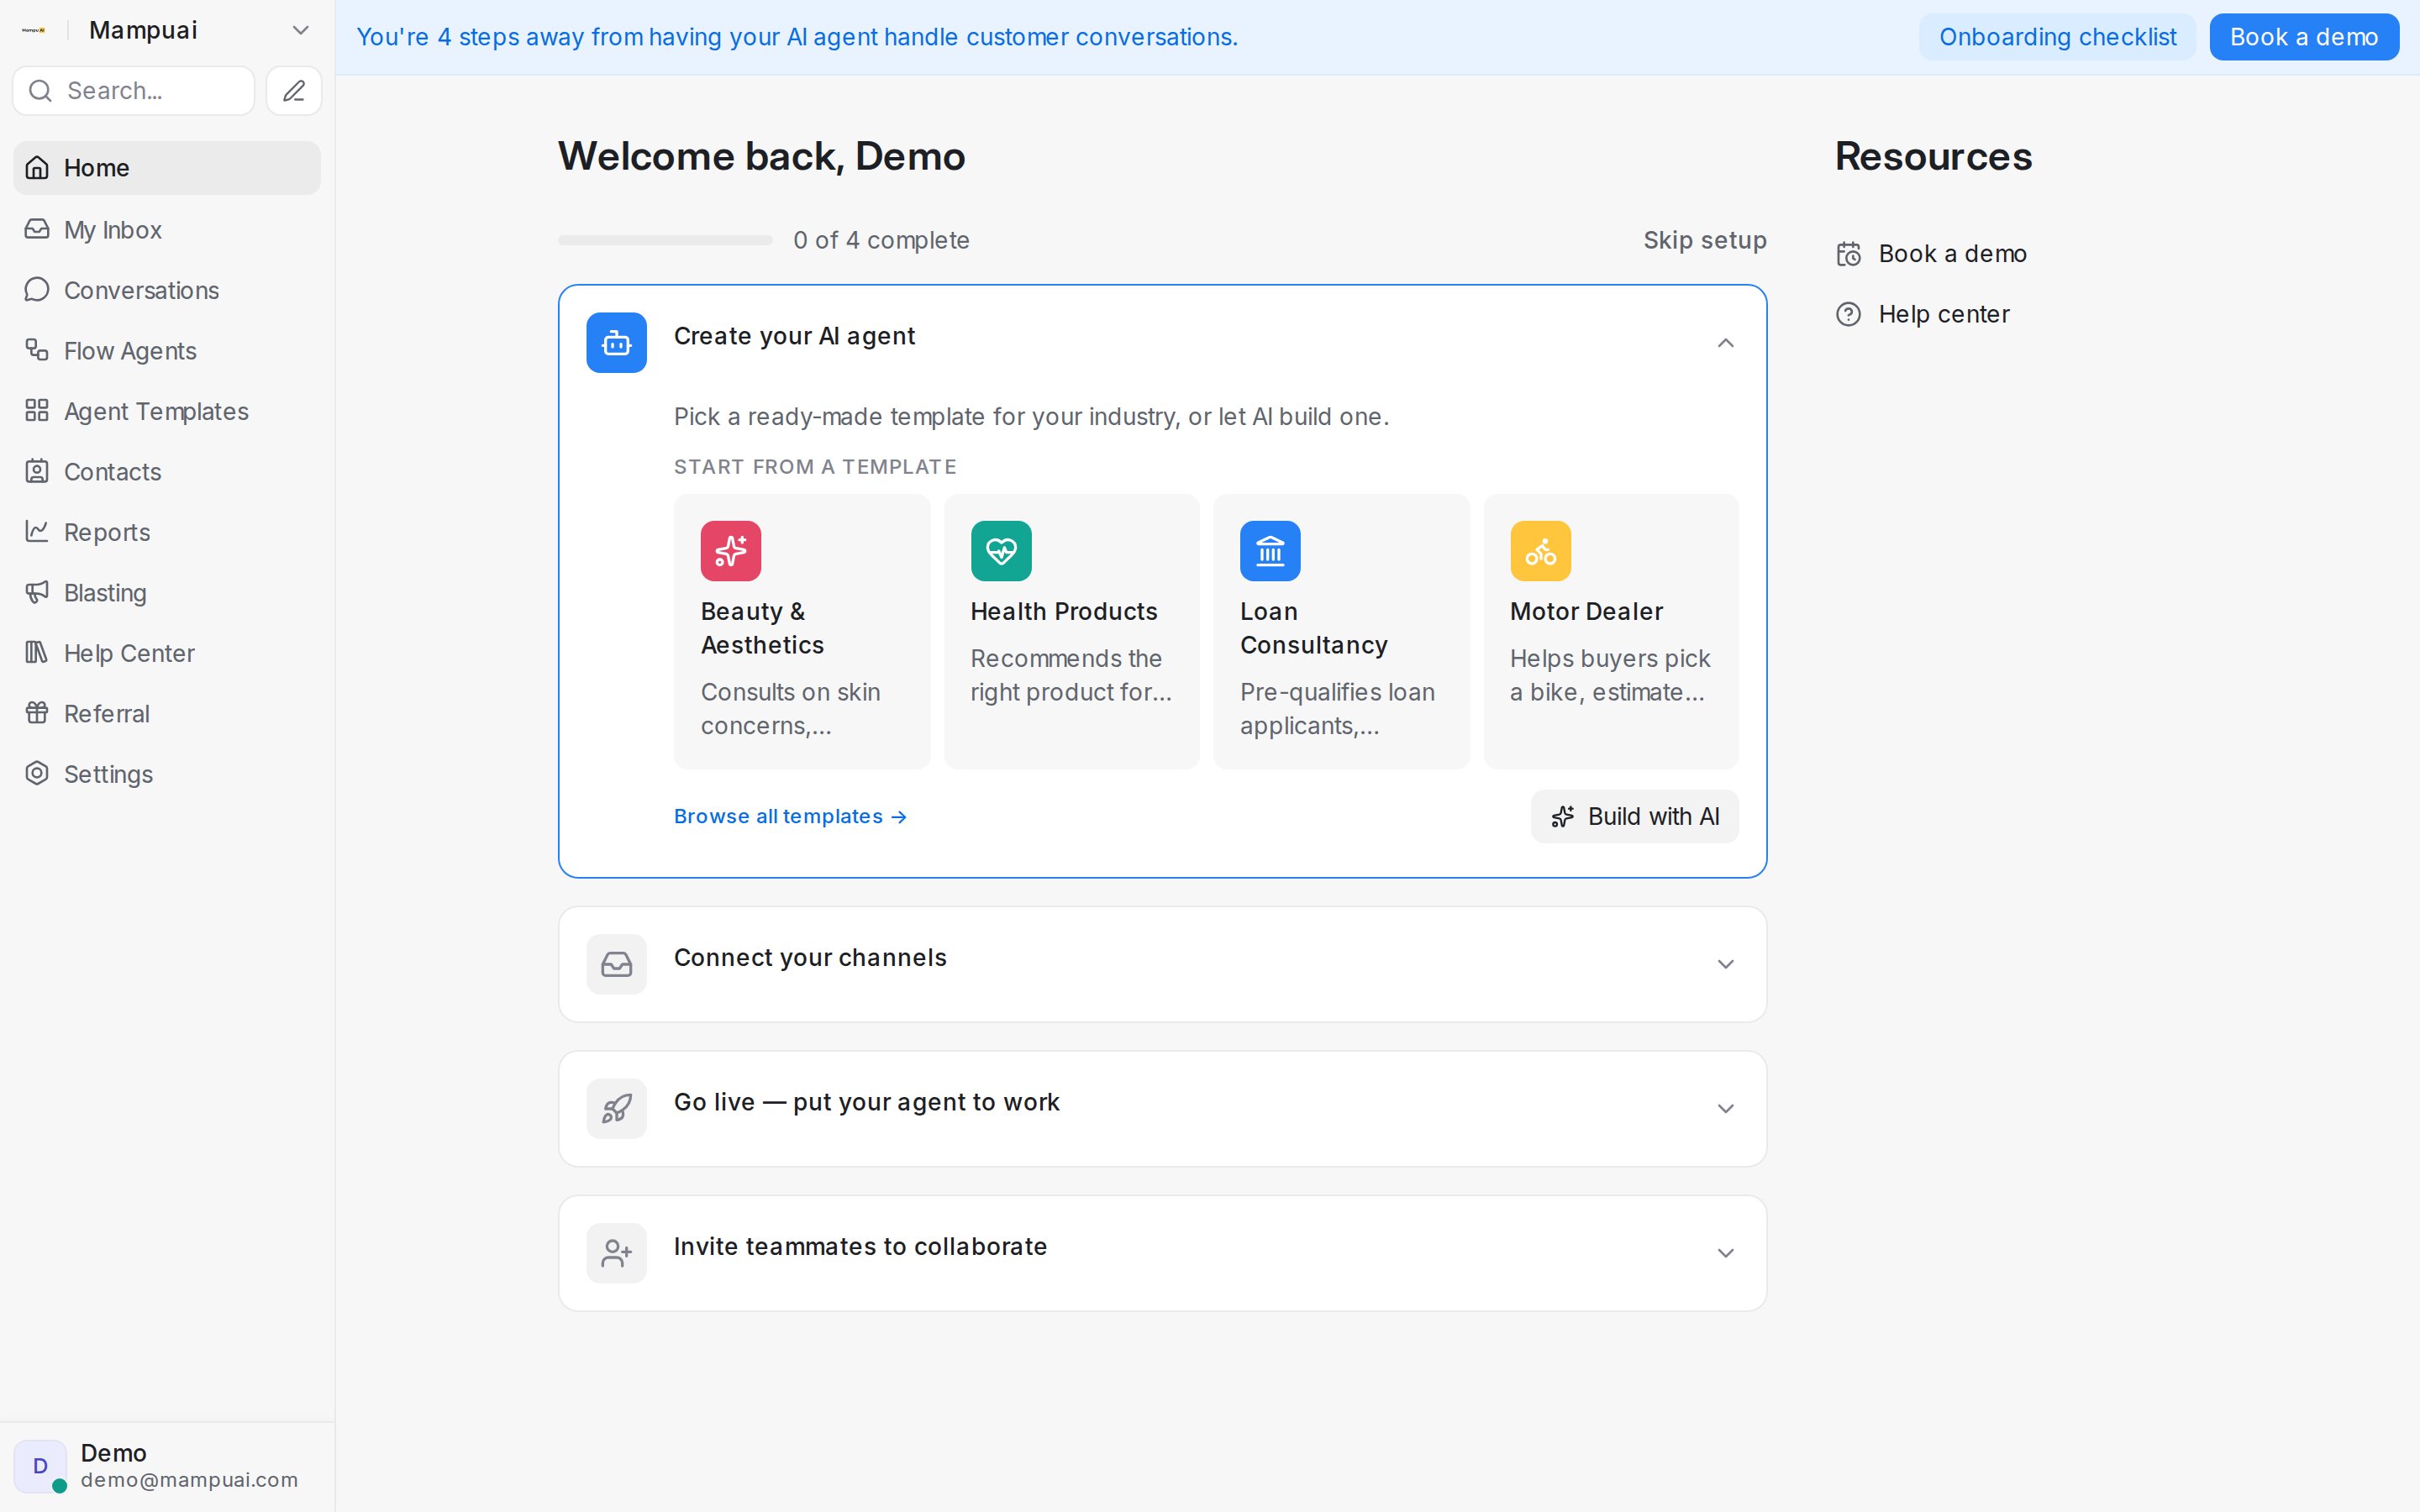
1. Start from the Go live checklist
On your Mampu AI home page, the Go live setup checklist shows the step to publish your agent and connect a messaging channel.
2. Add a new inbox
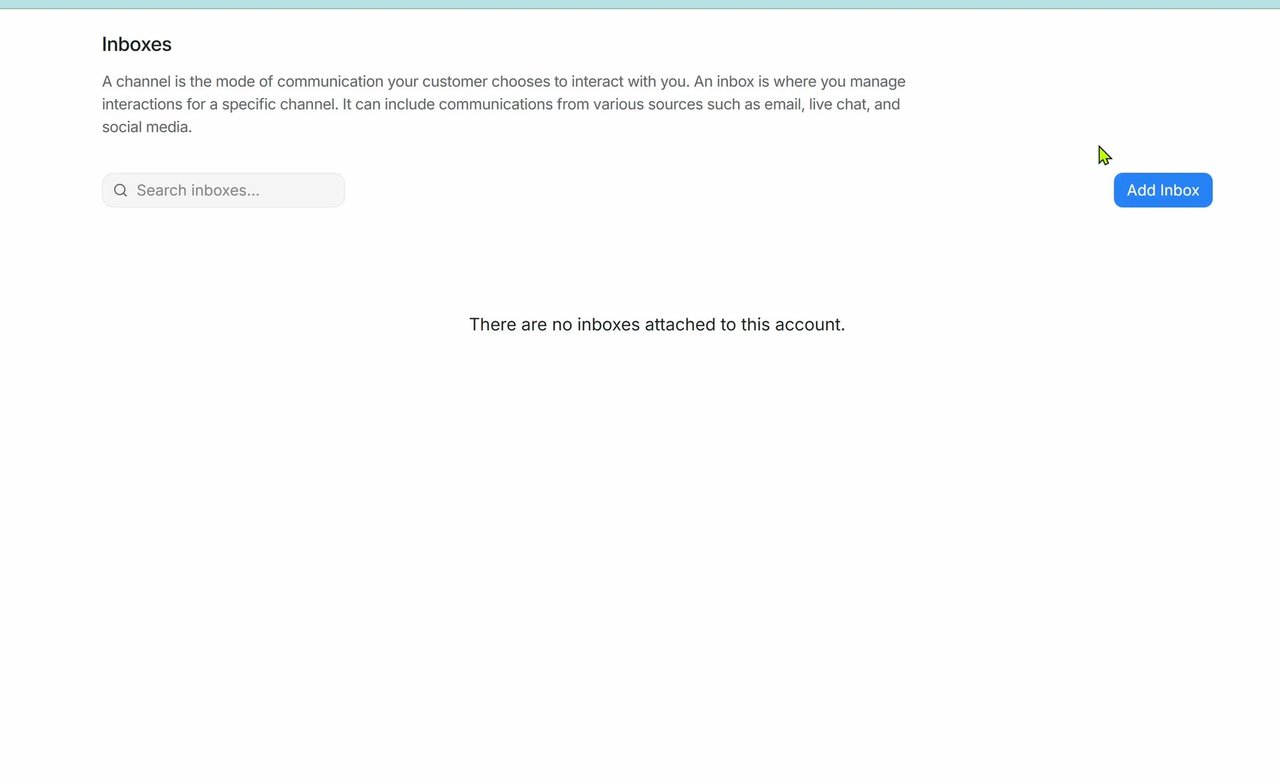
Go to Settings → Inboxes. If you have no inboxes yet, the page is empty. Click Add Inbox.
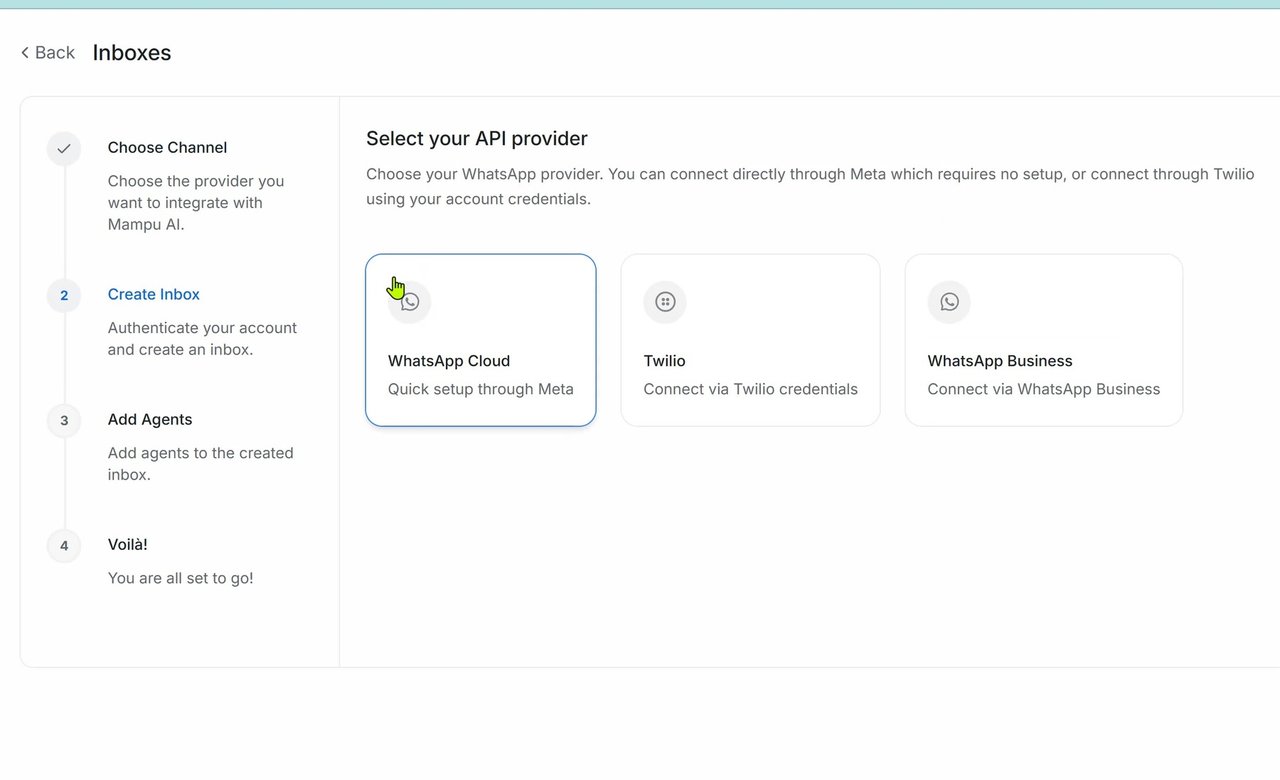
3. Choose WhatsApp and WhatsApp Cloud
Select WhatsApp as the channel to connect. Then, for the API provider, choose WhatsApp Cloud — the quick setup option through Meta.
4. Connect with WhatsApp Business
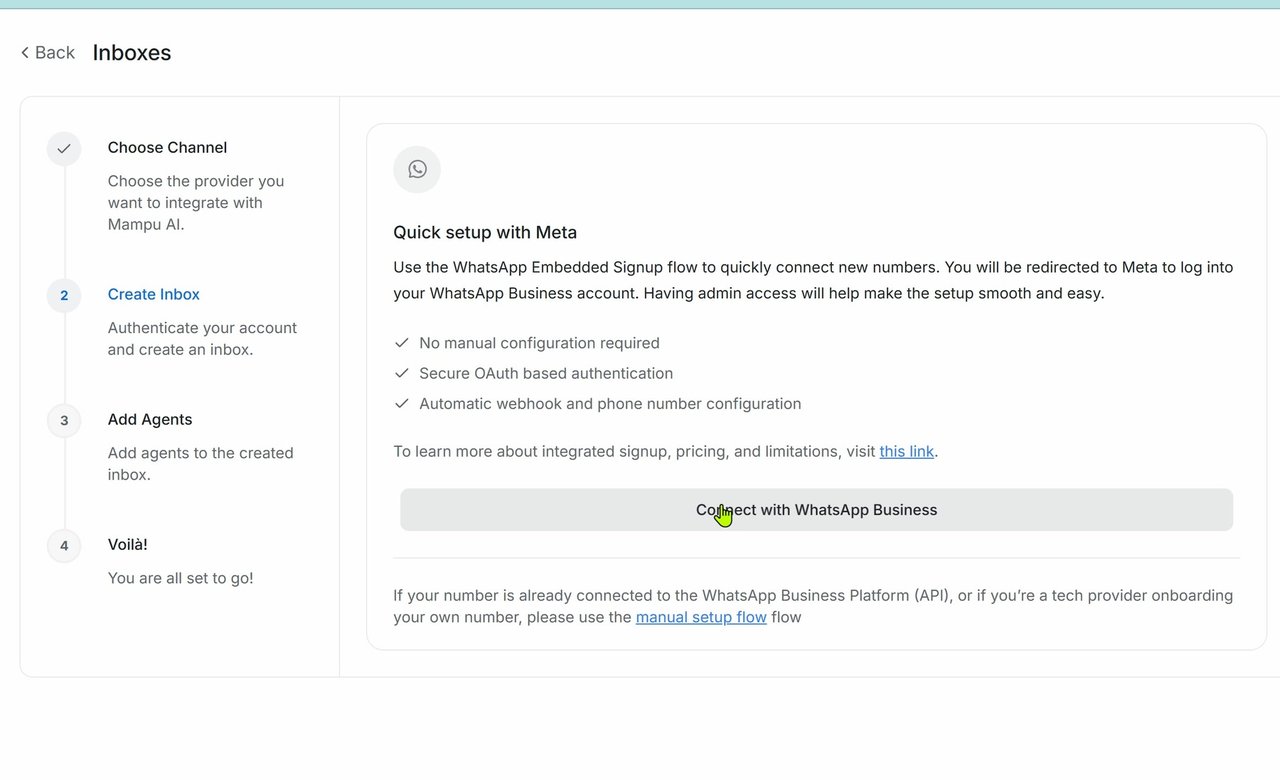
On the Quick setup with Meta page, click Connect with WhatsApp Business. This redirects you to Facebook Login for Business.
5. Continue in Facebook Login for Business
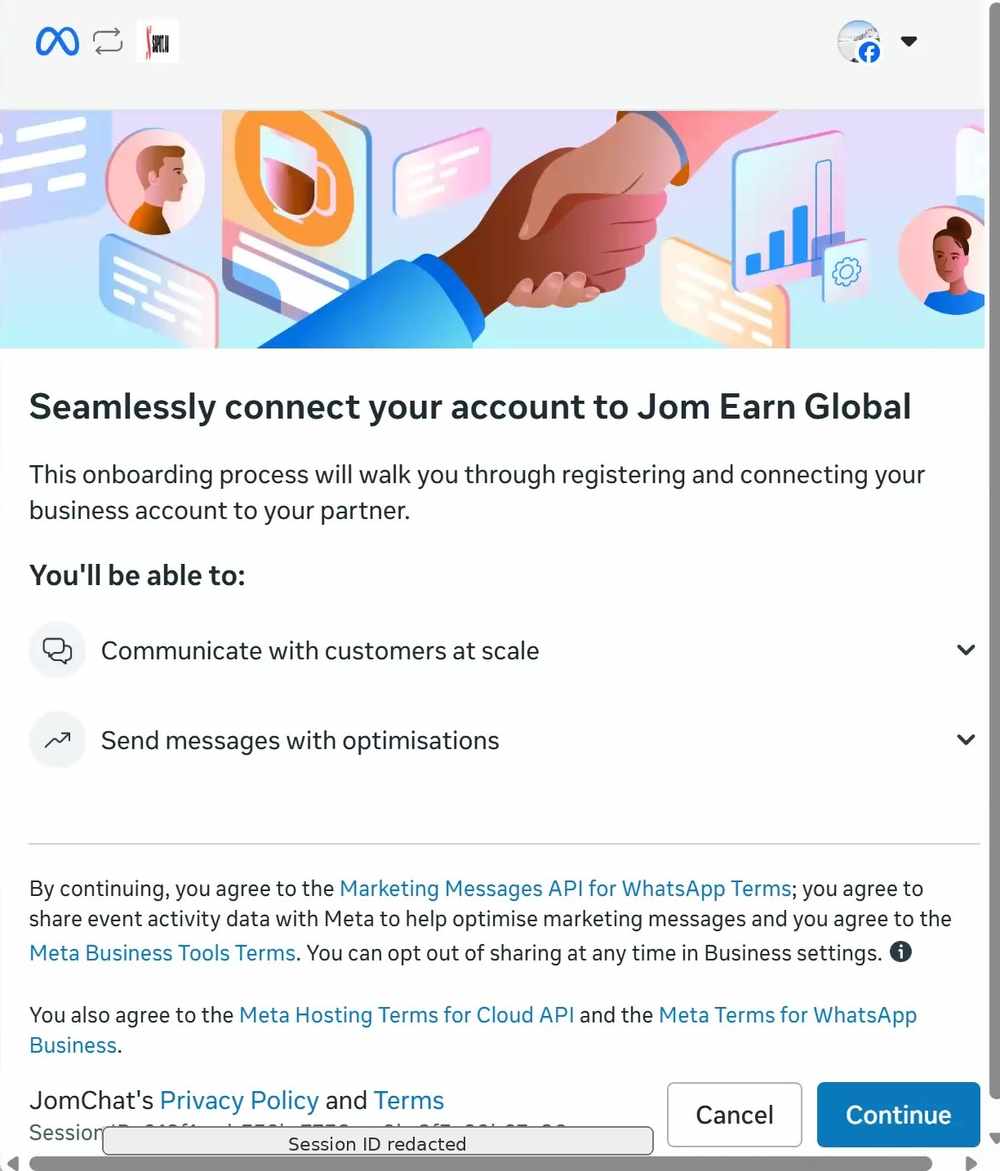
Review the partner connection, then click Continue to begin the onboarding flow.
6. Select the business assets to share
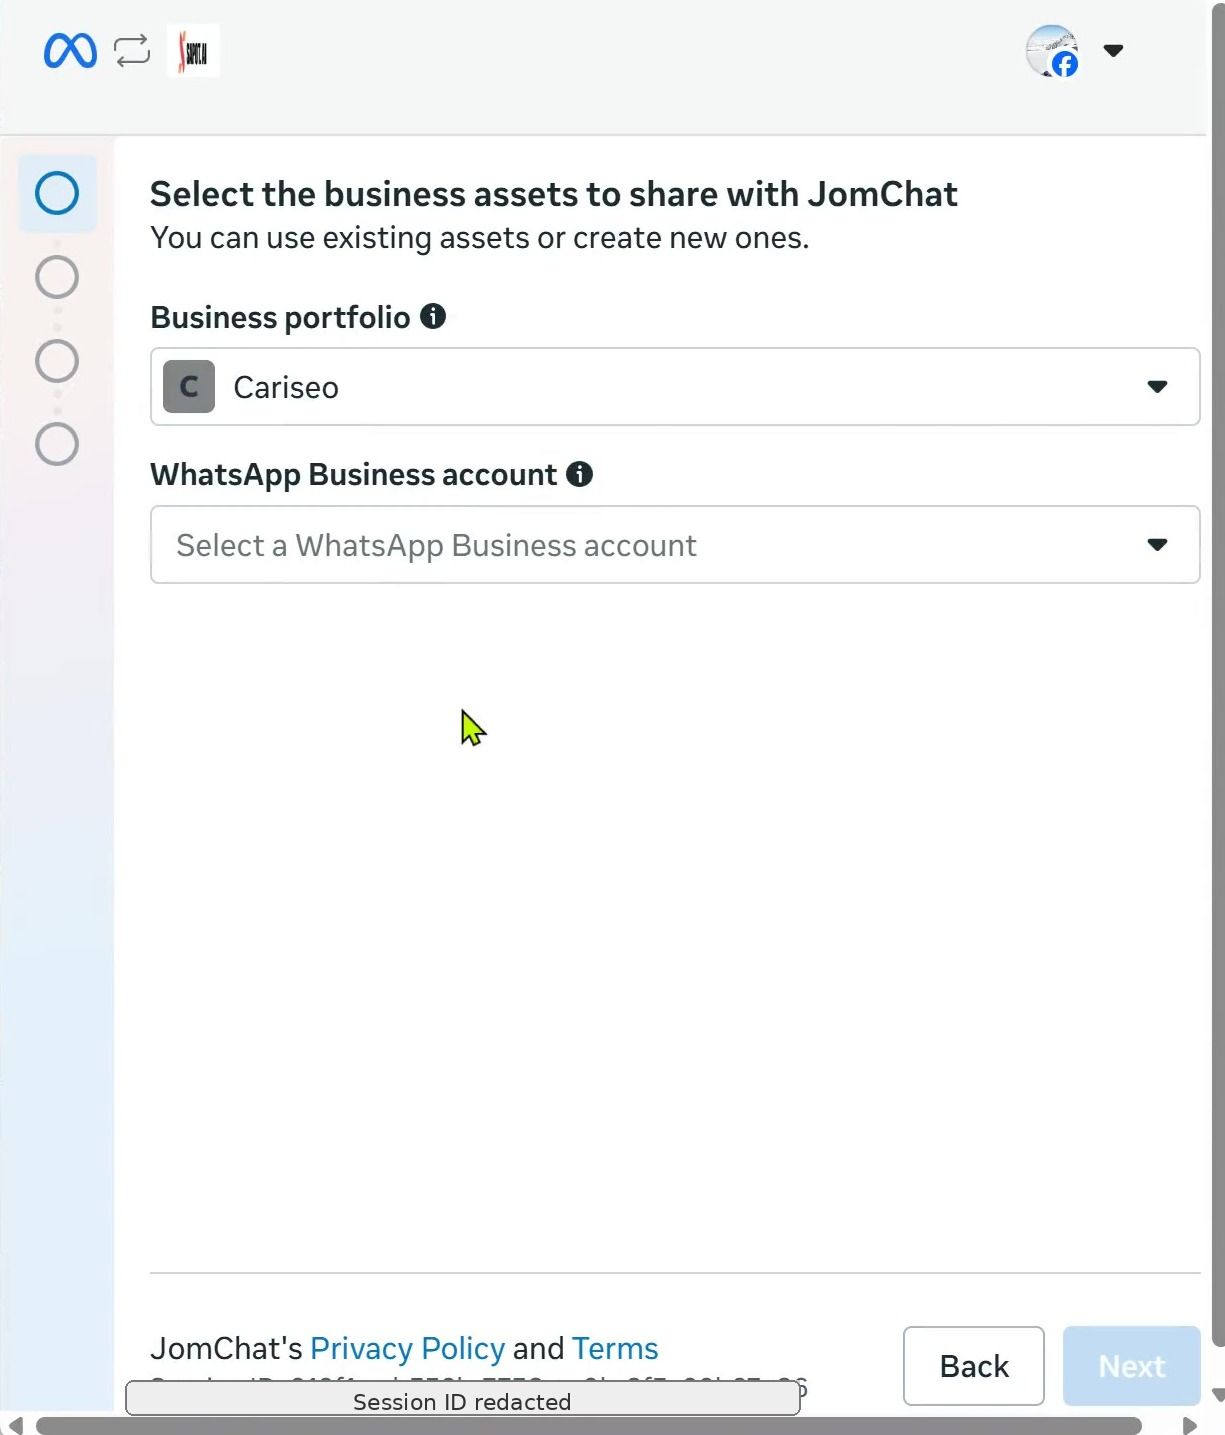
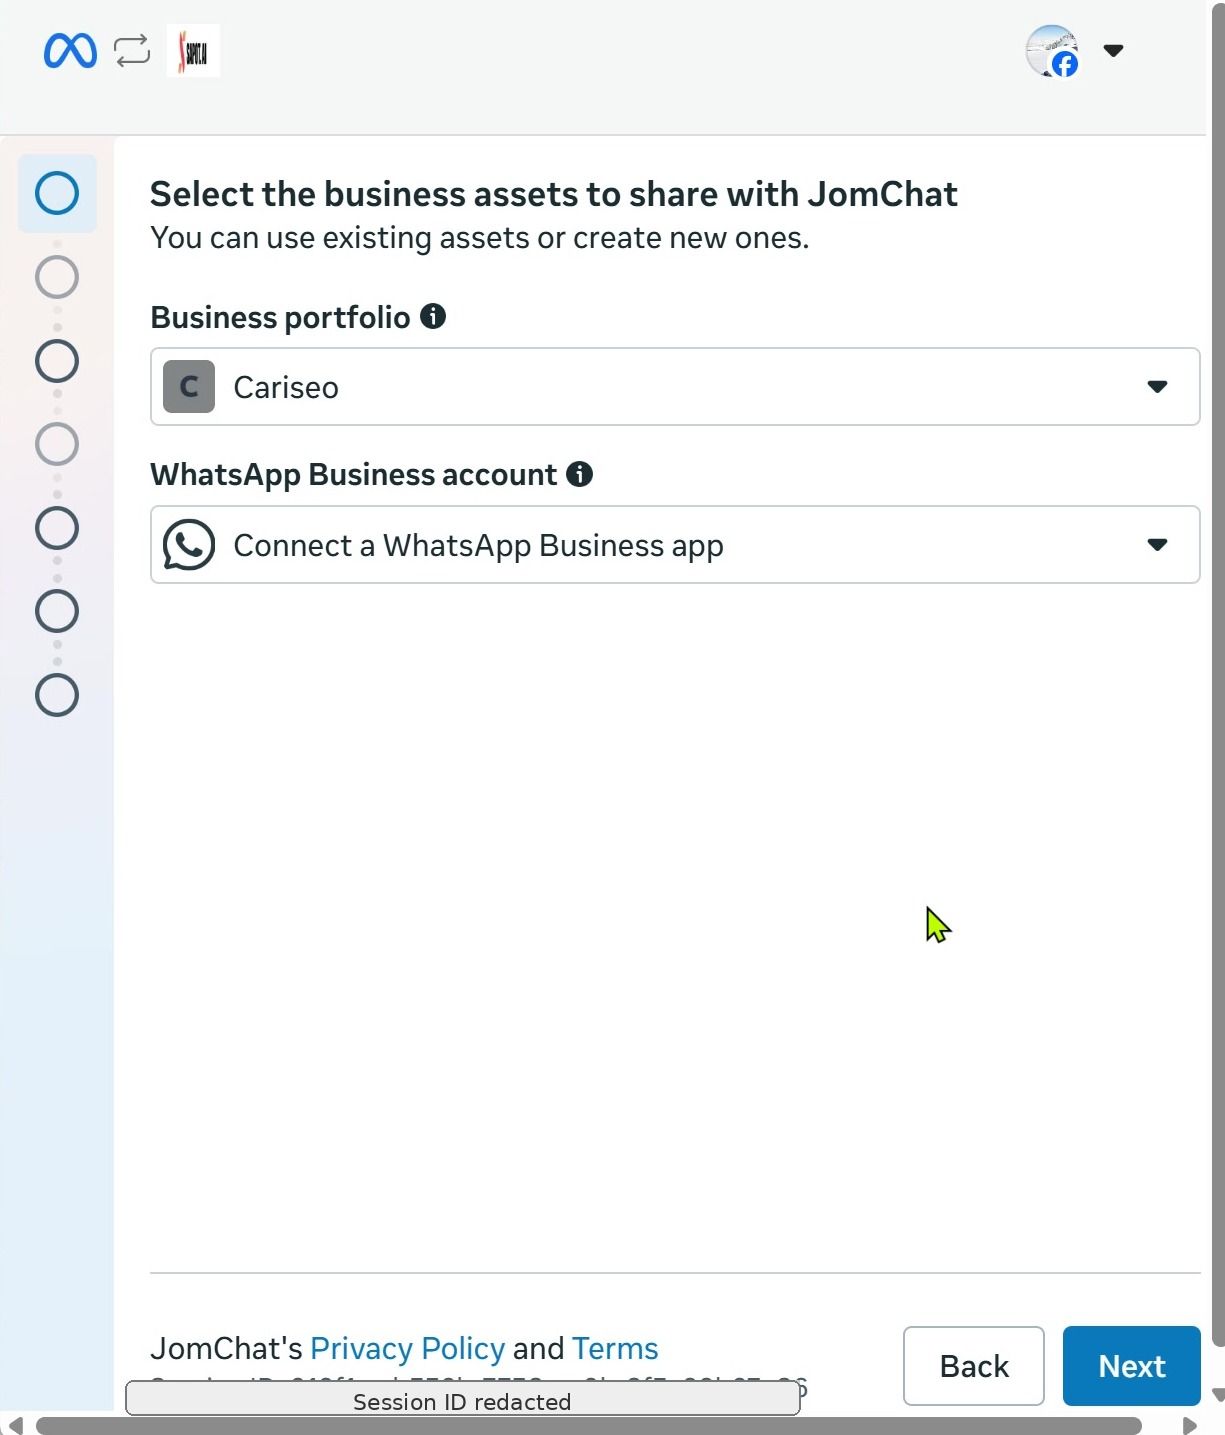
Choose the relevant business portfolio, then select Connect a WhatsApp Business app as the WhatsApp Business account option. Click Next.
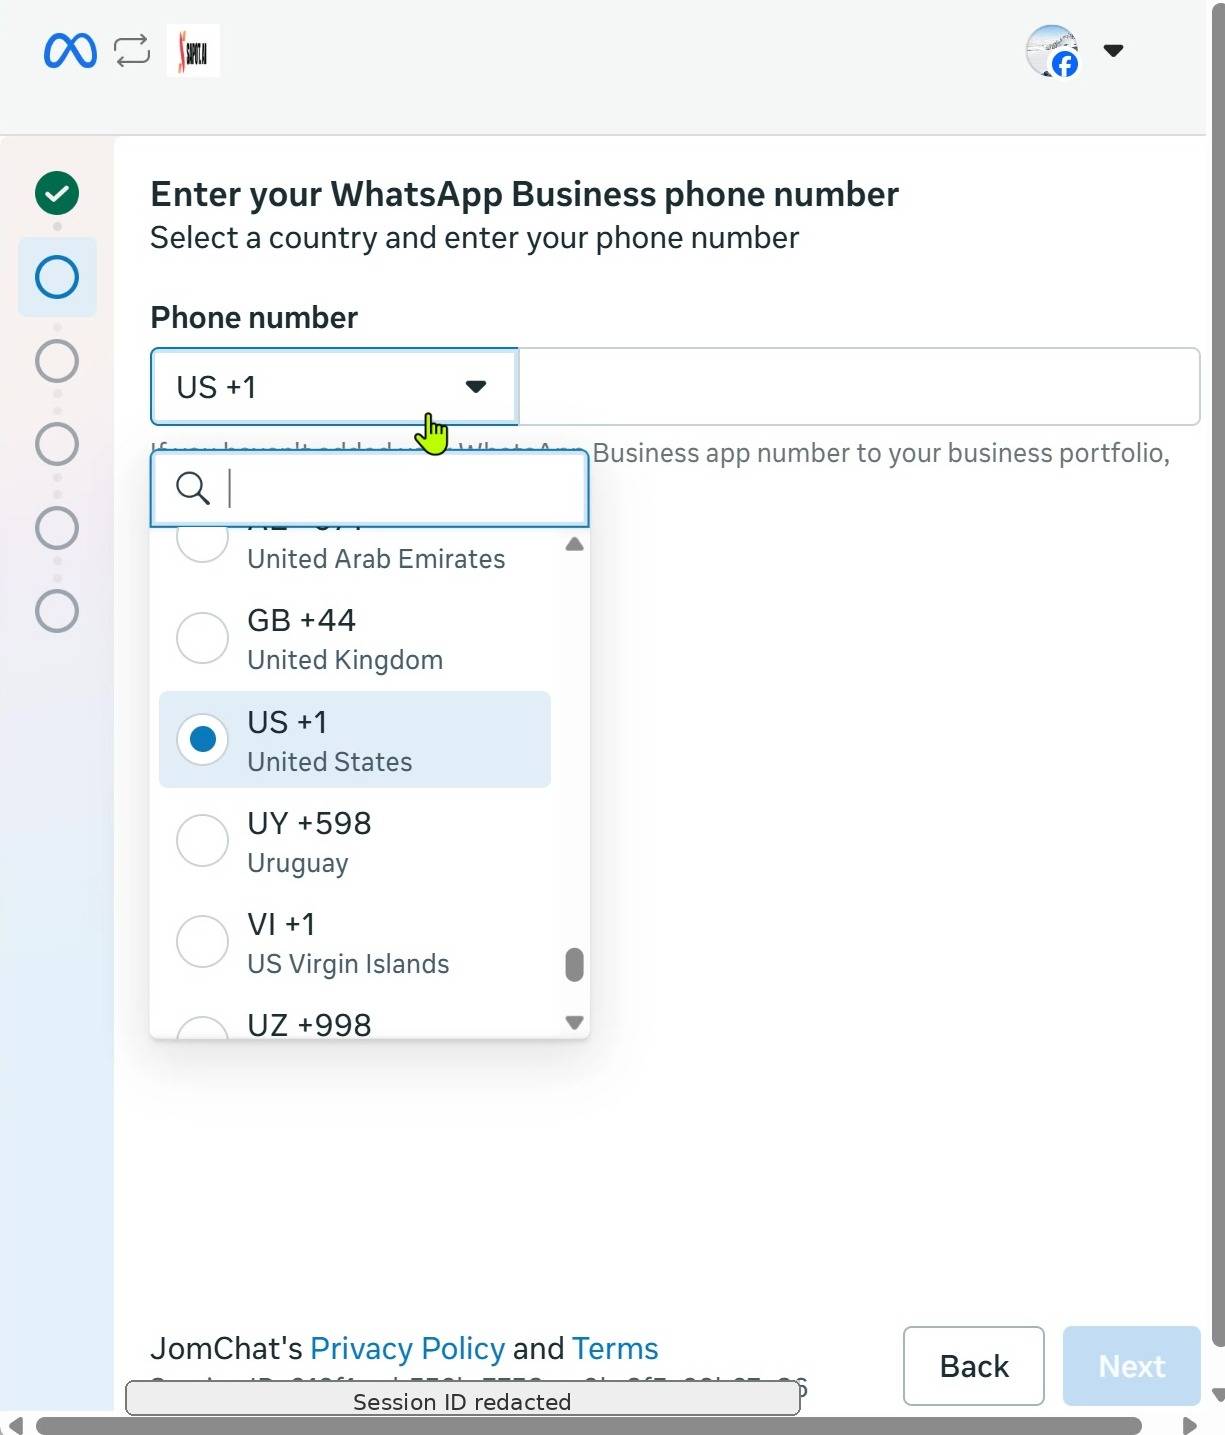
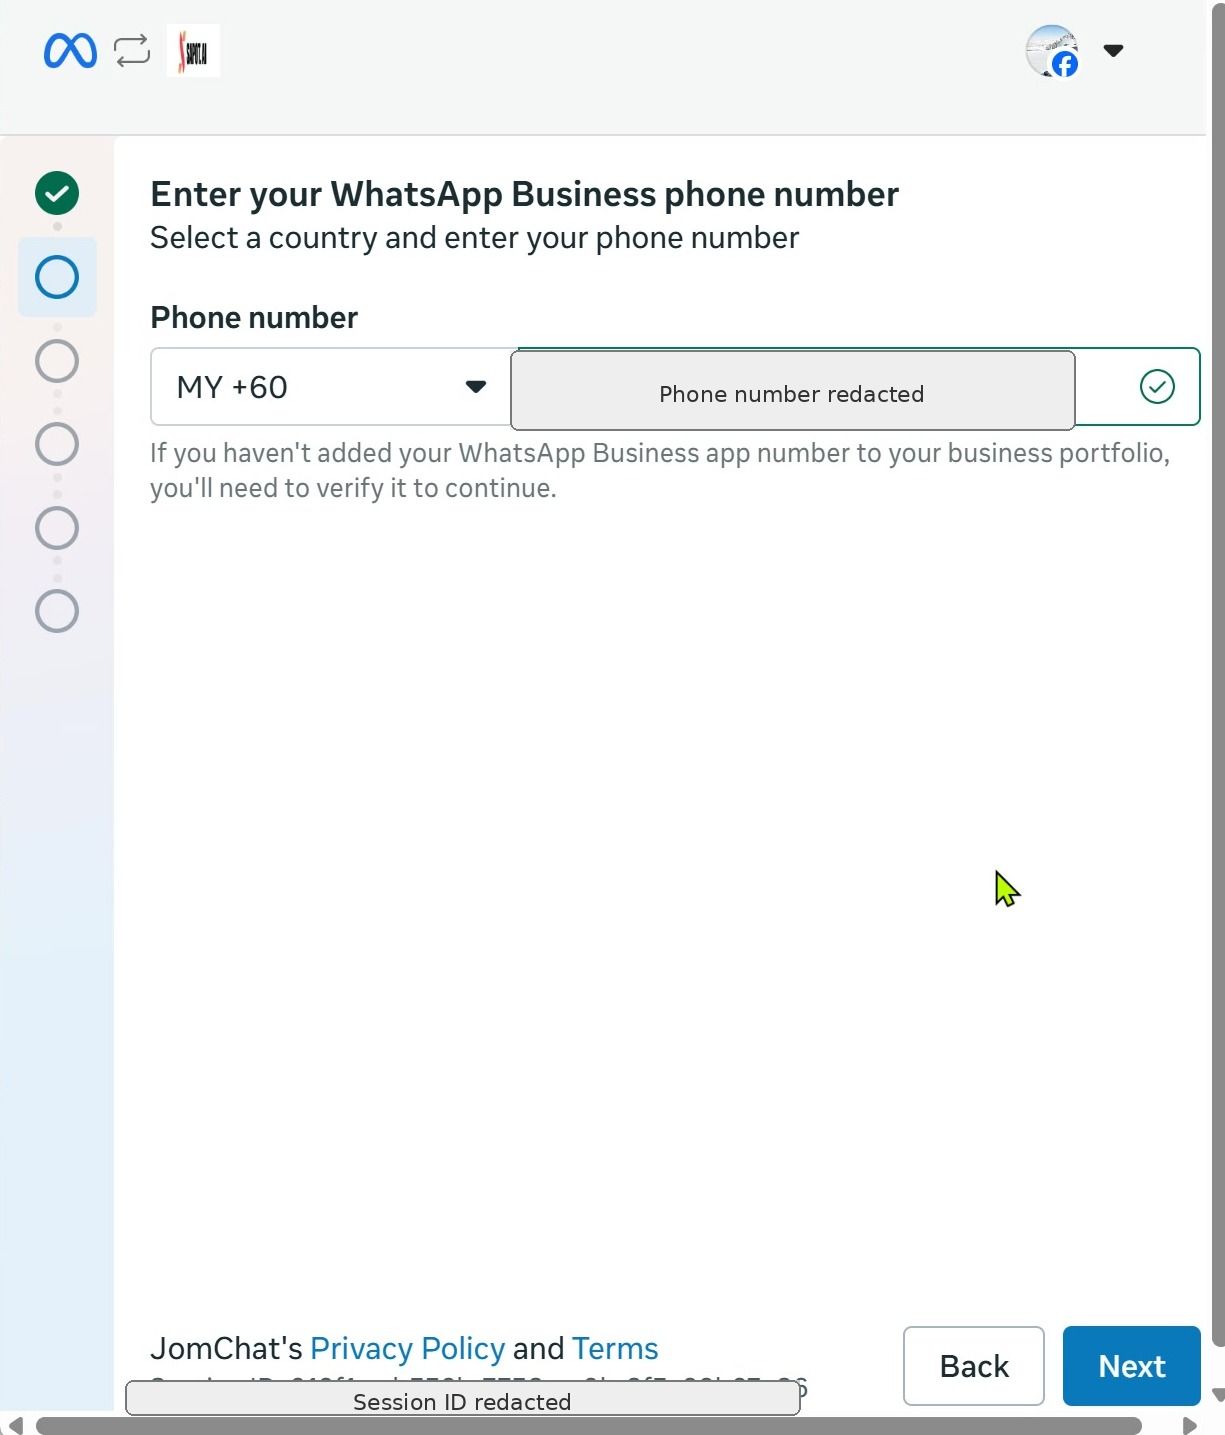
7. Enter your WhatsApp Business phone number
Select the correct country code, type your phone number, and wait until it is validated. Then click Next.
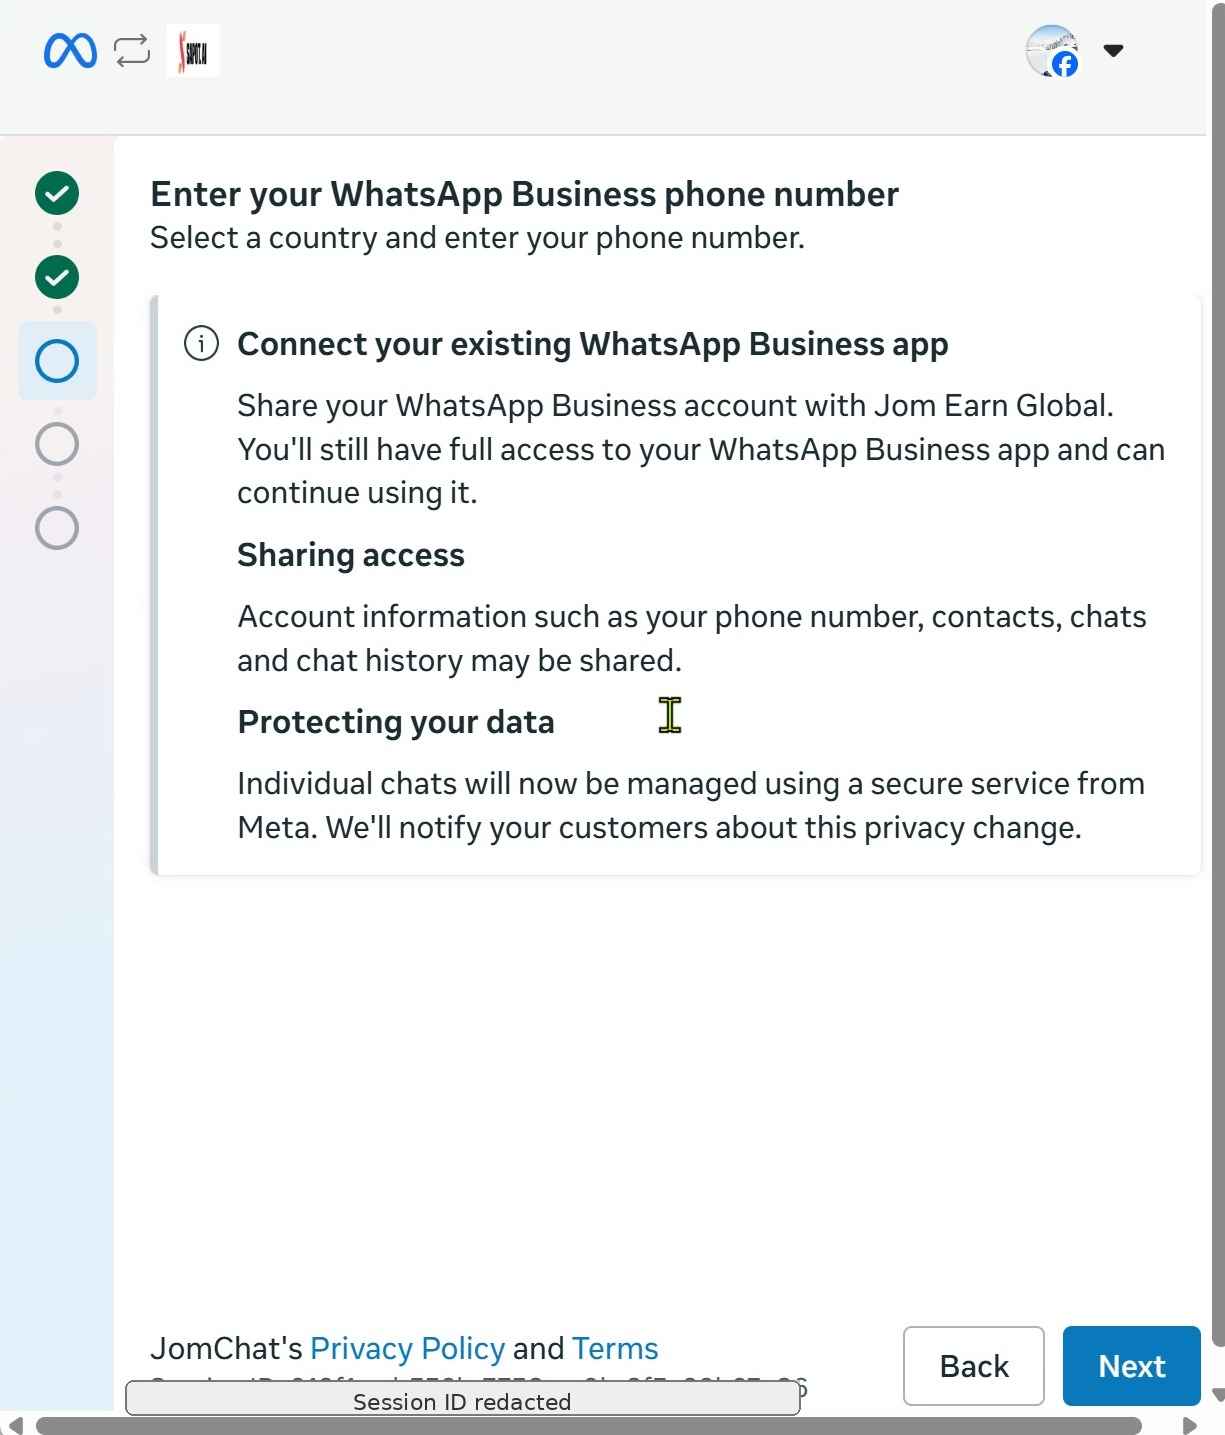
8. Review the access-sharing notice
Meta explains that your WhatsApp Business account — including phone number, contacts, chats and chat history — will be shared with the partner. Click Next to continue.
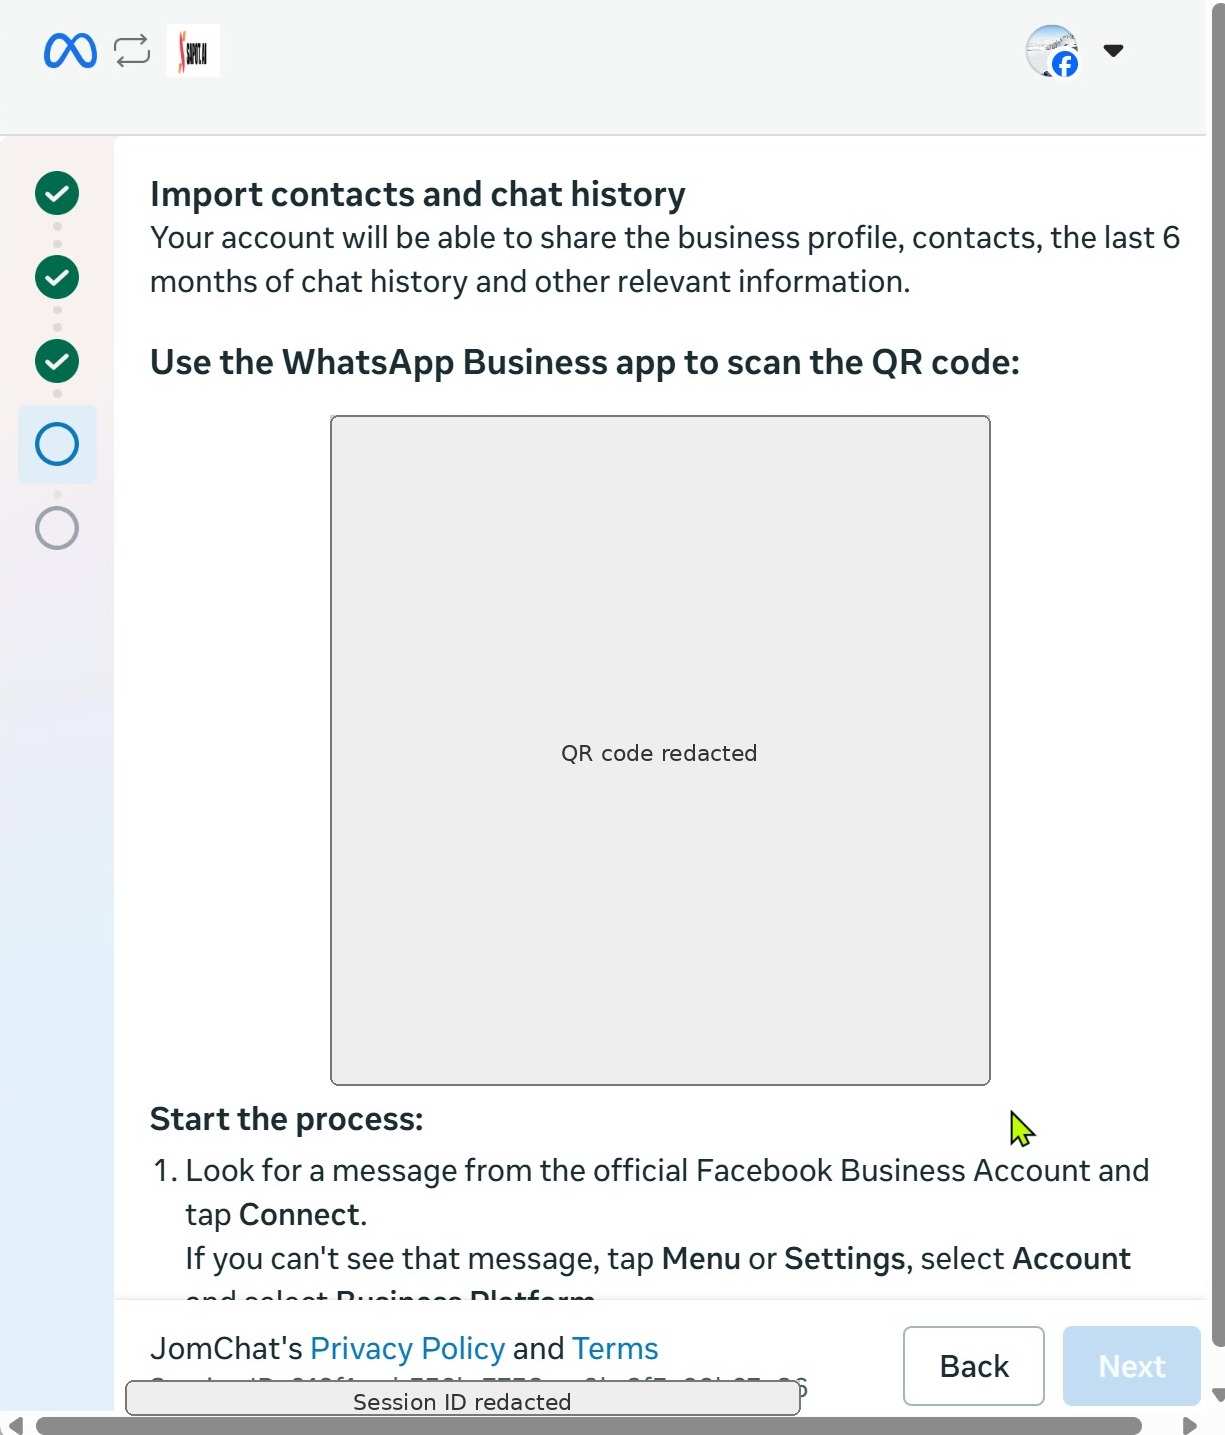
9. Import contacts and chat history
Open the WhatsApp Business app on your phone and scan the QR code shown by Meta. Follow the on-screen instructions to finish connecting the app.
You’re done
Once the scan completes, your WhatsApp inbox is connected. Incoming WhatsApp messages now appear in Mampu AI, and your AI agent can start replying. You can fine-tune the inbox anytime under Settings → Inboxes.