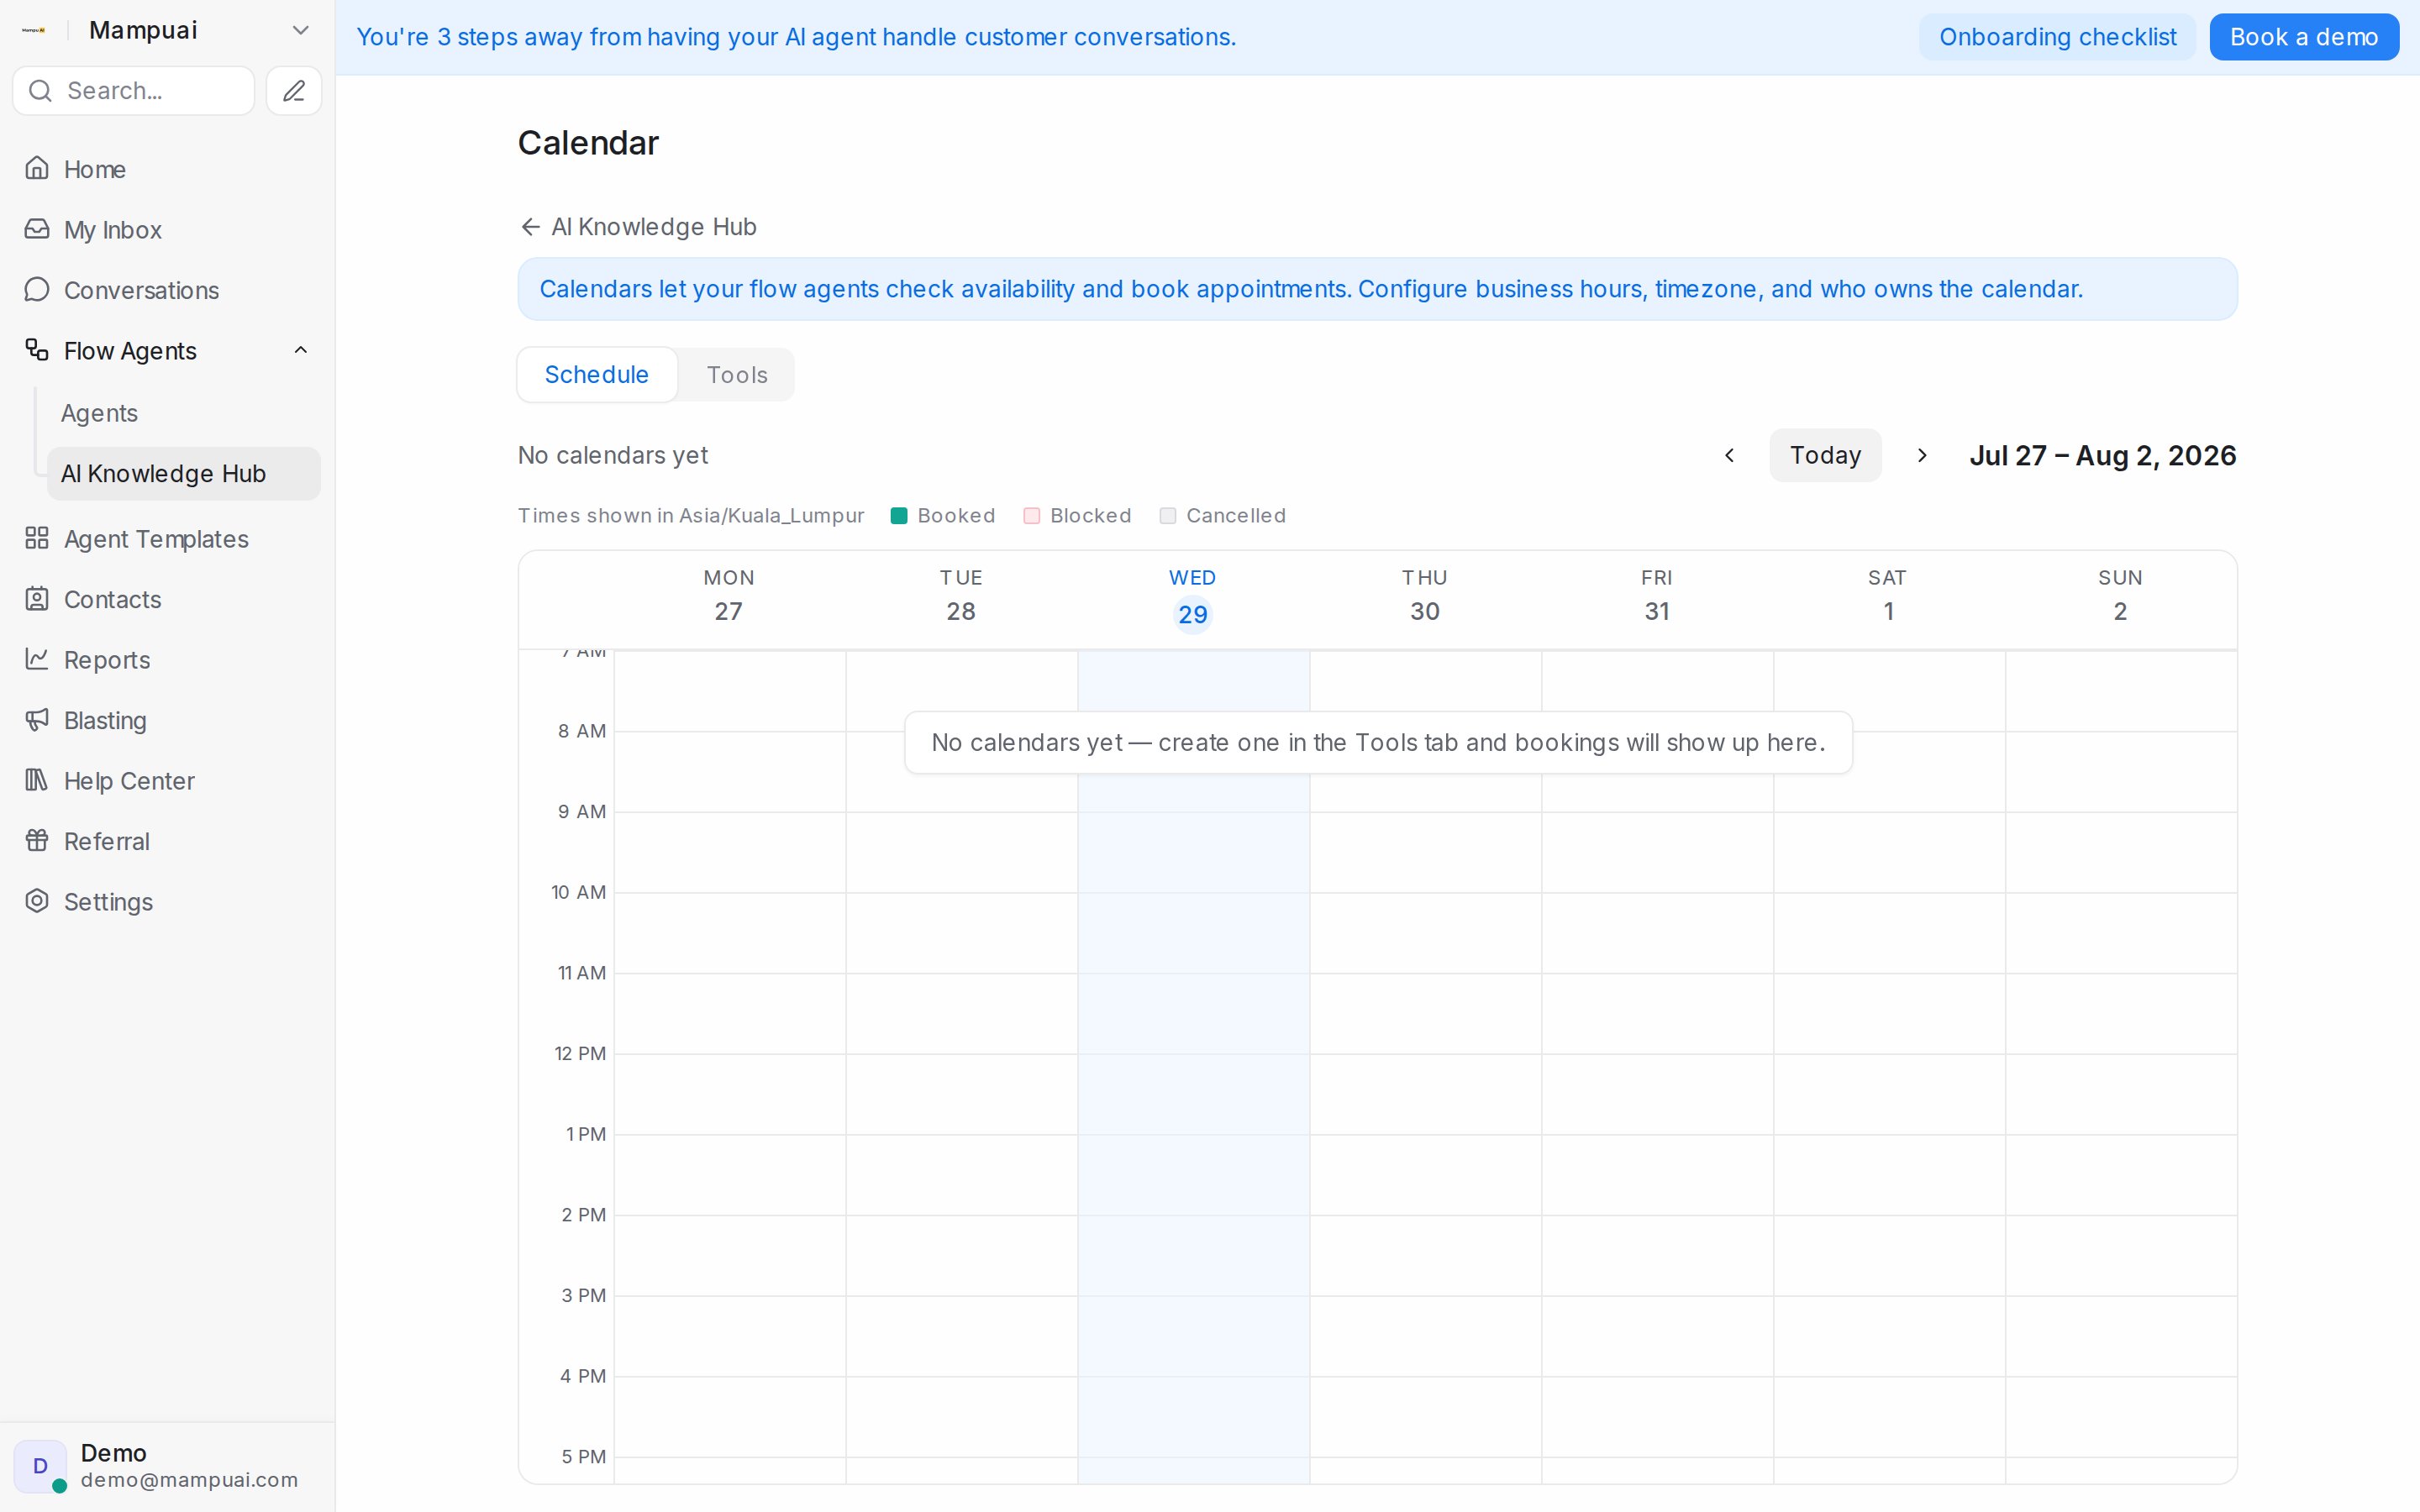
Calendars let your AI agents check real availability and book appointments for your customers — and give your team one place to see every booking.
Open Flow Agents → AI Knowledge Hub and choose the Calendar tile. The Calendar page has two tabs: Schedule (your weekly bookings view, shown first) and Tools (where calendars are created and configured).
Add a calendar
In the Tools tab, click Add calendar and fill in:
- Name — e.g. Clinic appointments.
- Description — describe when the AI should book with this calendar (e.g. Book dental appointments and consultations). Your AI agent reads this to decide which calendar to use during a conversation, so make it specific.
- Members — optional. With no members, bookings land on the calendar itself. With members, bookings are distributed across them, and time blocked on the calendar applies to everyone.
- Timezone and Business hours — set the hours for each day, add multiple time ranges, or mark days closed. You can copy one day’s hours to other days.
Booking rules
Fine-tune how slots are offered:
- Appointment duration and slot interval — how long each appointment lasts and how the start times are spaced.
- Buffer between bookings — breathing room after each appointment.
- Minimum notice time — how far in advance a booking must be made.
- Booking horizon — how many days ahead customers can book.
- Slot preference — how open slots are ranked when the AI offers times (earliest first, prefer mornings, and so on).
Once saved, the calendar is ready: your AI agent can offer available times in chat and book directly, and every booking appears in the Schedule tab.