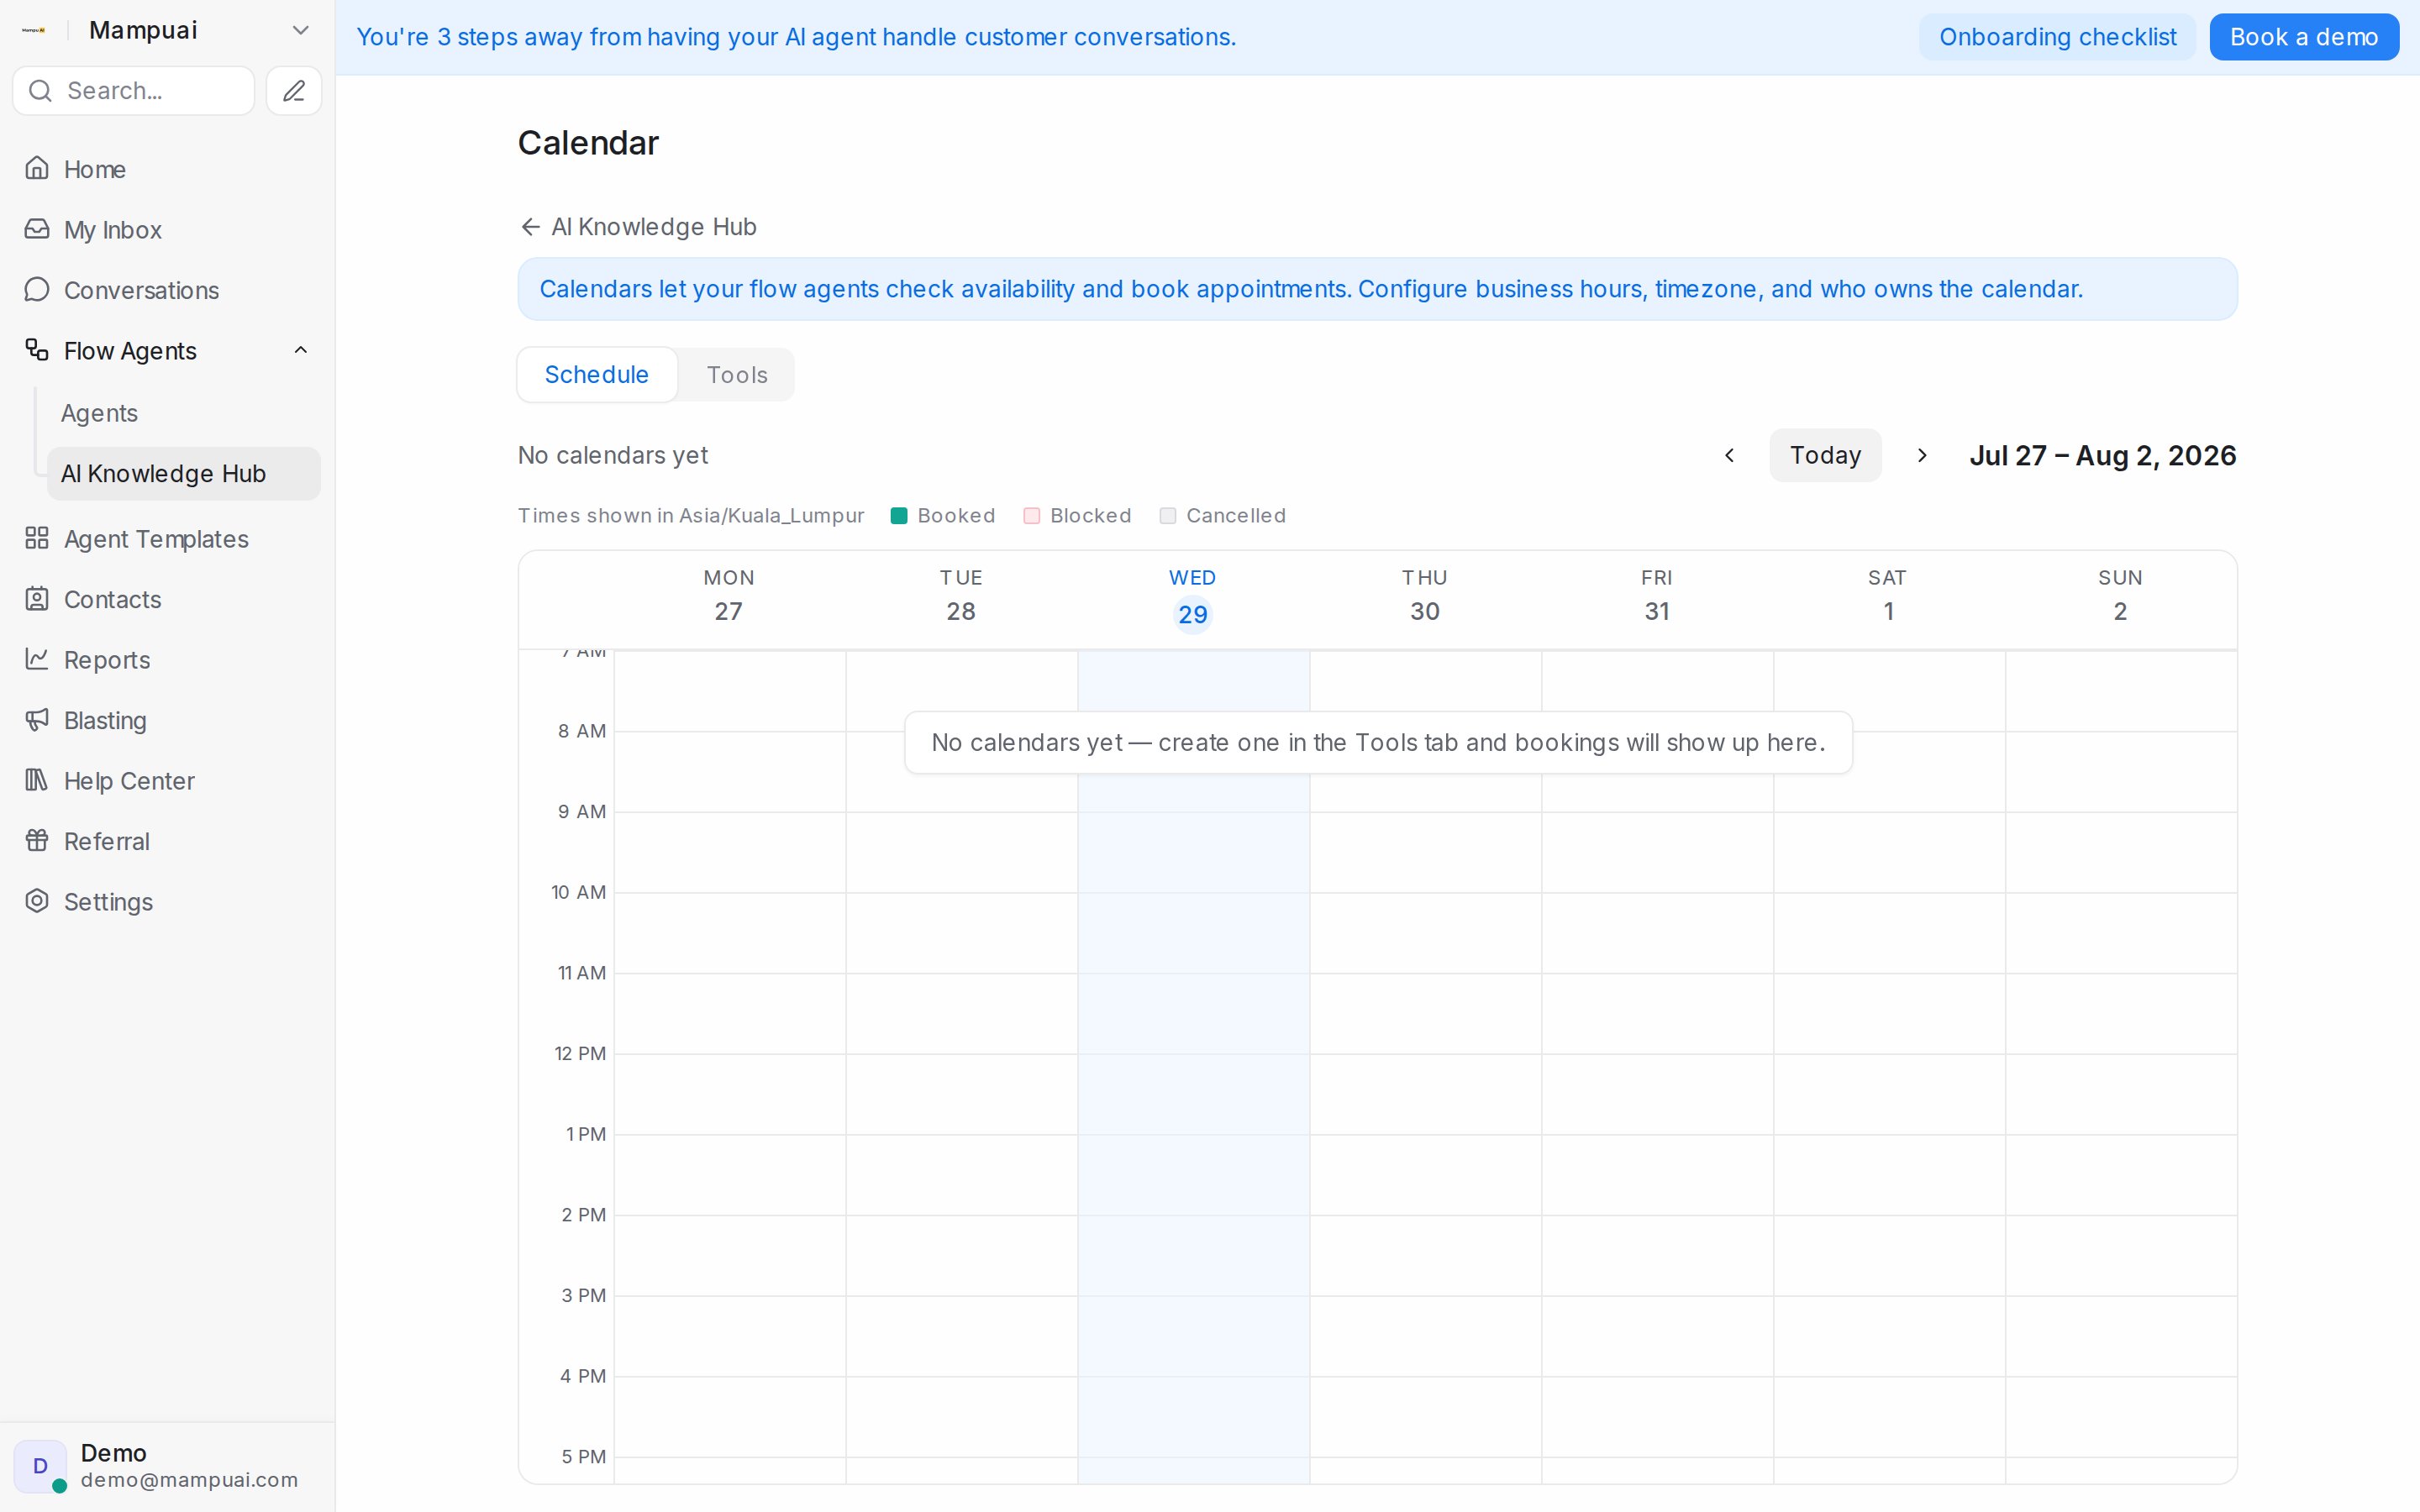
Calendars let your AI agents check real availability and book appointments for your customers — and give your team one place to see every booking.
Open Flow Agents → AI Knowledge Hub and choose the Calendar tile. The Calendar page has two tabs: Schedule (your weekly bookings view, shown first) and Tools (where calendars are created and configured).
Watch the walkthrough
Add a calendar
In the Tools tab, click Add calendar and fill in:
- Name — e.g. Clinic appointments.
- Description — describe when the AI should book with this calendar (e.g. Book dental appointments and consultations). Your AI agent reads this to decide which calendar to use during a conversation, so make it specific.
- Members — optional. With no members, bookings land on the calendar itself. With members, bookings are distributed across them, and time blocked on the calendar applies to everyone.
- Assignment — shown when a calendar has two or more members. Round robin (the default) spreads bookings evenly across everyone who’s free; tick Assign by priority order to keep offering everyone’s times while each booking goes to the highest member in your list who’s free at that time. Priority fill books the first member in your priority order until they have no free times within the Check window (days) you set — only then are the next member’s times offered. Reorder members with the arrows to decide who fills first; when a time frees up on an earlier member’s schedule, new bookings return to them automatically.
- Timezone and Business hours — set the hours for each day, add multiple time ranges, or mark days closed. You can copy one day’s hours to other days.
Member hours
By default every member takes bookings during the calendar’s business hours. When someone works different hours, for example only mornings, click Set custom availability next to their name and set their own days and times. Times are offered when at least one member is free within the calendar’s hours, so a member’s hours that never overlap the calendar’s mean they get no bookings; the editor warns you. Use calendar hours puts them back on the calendar’s hours.
Booking messages
Under Booking messages, attach the message sequences that go out when this calendar gets a booking: a confirmation, reminders before the appointment, a follow-up after it. Set up booking messages creates a new sequence for this calendar, Attach existing reuses one you already have, and Detach from this calendar stops a sequence for this calendar without deleting it. With none attached, bookings only get the confirmation in the chat. See Message Sequences.
Google Meet links
Under Advanced settings, tick Add Google Meet link so every booking on this calendar gets a video meeting link. It works for members who have connected Google Calendar in the Schedule tab; the link appears in the booking, in the conversation and in the customer’s confirmation.
Booking rules
Fine-tune how slots are offered:
- Appointment duration and slot interval — how long each appointment lasts and how the start times are spaced.
- Buffer between bookings — breathing room after each appointment.
- Minimum notice time — how far in advance a booking must be made.
- Booking horizon — how many days ahead customers can book.
- Slot preference — how open slots are ranked when the AI offers times (earliest first, prefer mornings, and so on).
- Max attendees per slot — how many people can book the same time. Leave it at 1 for one-on-one appointments, or raise it to run group sessions like classes, tours, or webinars: the same time stays bookable until every seat is taken, and each attendee books, reschedules, and cancels independently — a cancelled seat opens the time up again.
Once saved, the calendar is ready: your AI agent can offer available times in chat and book directly, and every booking appears in the Schedule tab.