
Agents are the people who answer conversations. Teams group them, such as Sales or Support, so a conversation can go to a whole group. Only administrators can change either, under Settings.
Watch the walkthrough
Agents
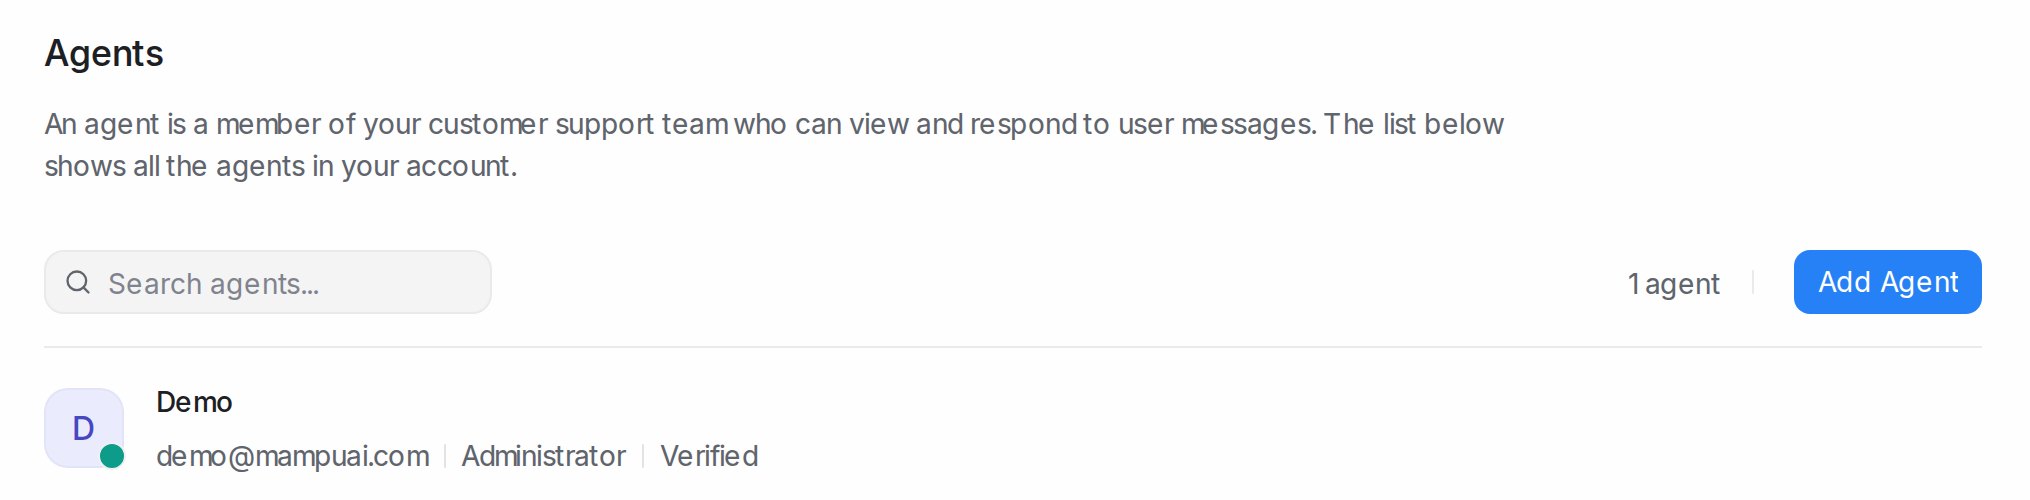
Settings → Agents lists everyone with their role and whether they confirmed their invitation.
Invite someone
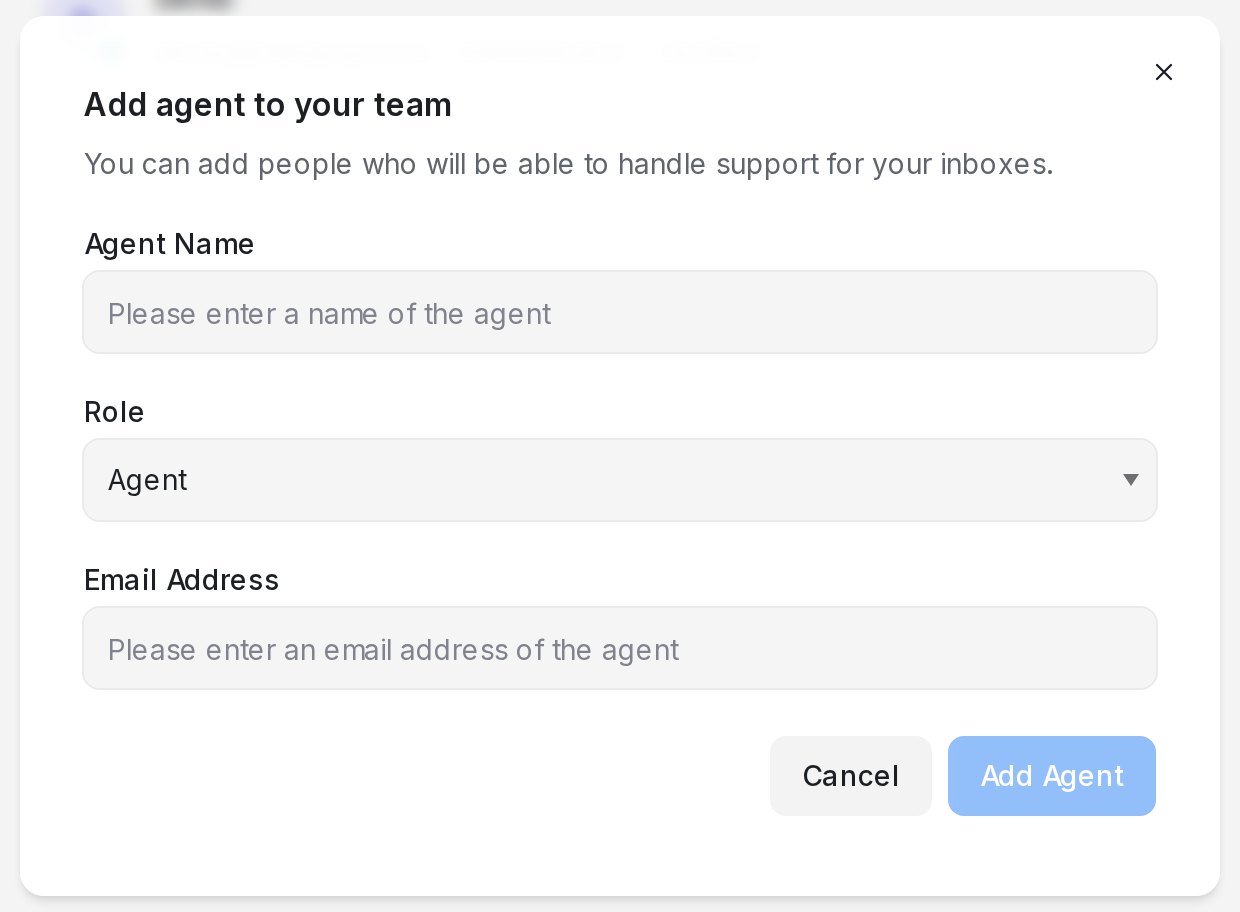
- Click Add Agent.
- Enter the Agent Name and Email Address.
- Pick a Role: Agent (answers conversations in their inboxes) or Administrator (also every setting, report and billing page).
- Click Add Agent. They get an email to set a password and join.
An agent only sees inboxes they are a collaborator of: add them under each inbox’s Collaborators tab; see Inbox settings, tab by tab. Each person is one seat on your plan; see Add-ons: extra contacts and agent seats.
Edit, reset, remove
| Action | What it does |
|---|---|
| Edit agent | Change Agent Name, Role and Availability (Online, Busy, Offline) |
| Reset Password | Email them a link to choose a new password |
| Delete | Remove them after you confirm. Their past replies stay; all their conversations become unassigned |
Teams
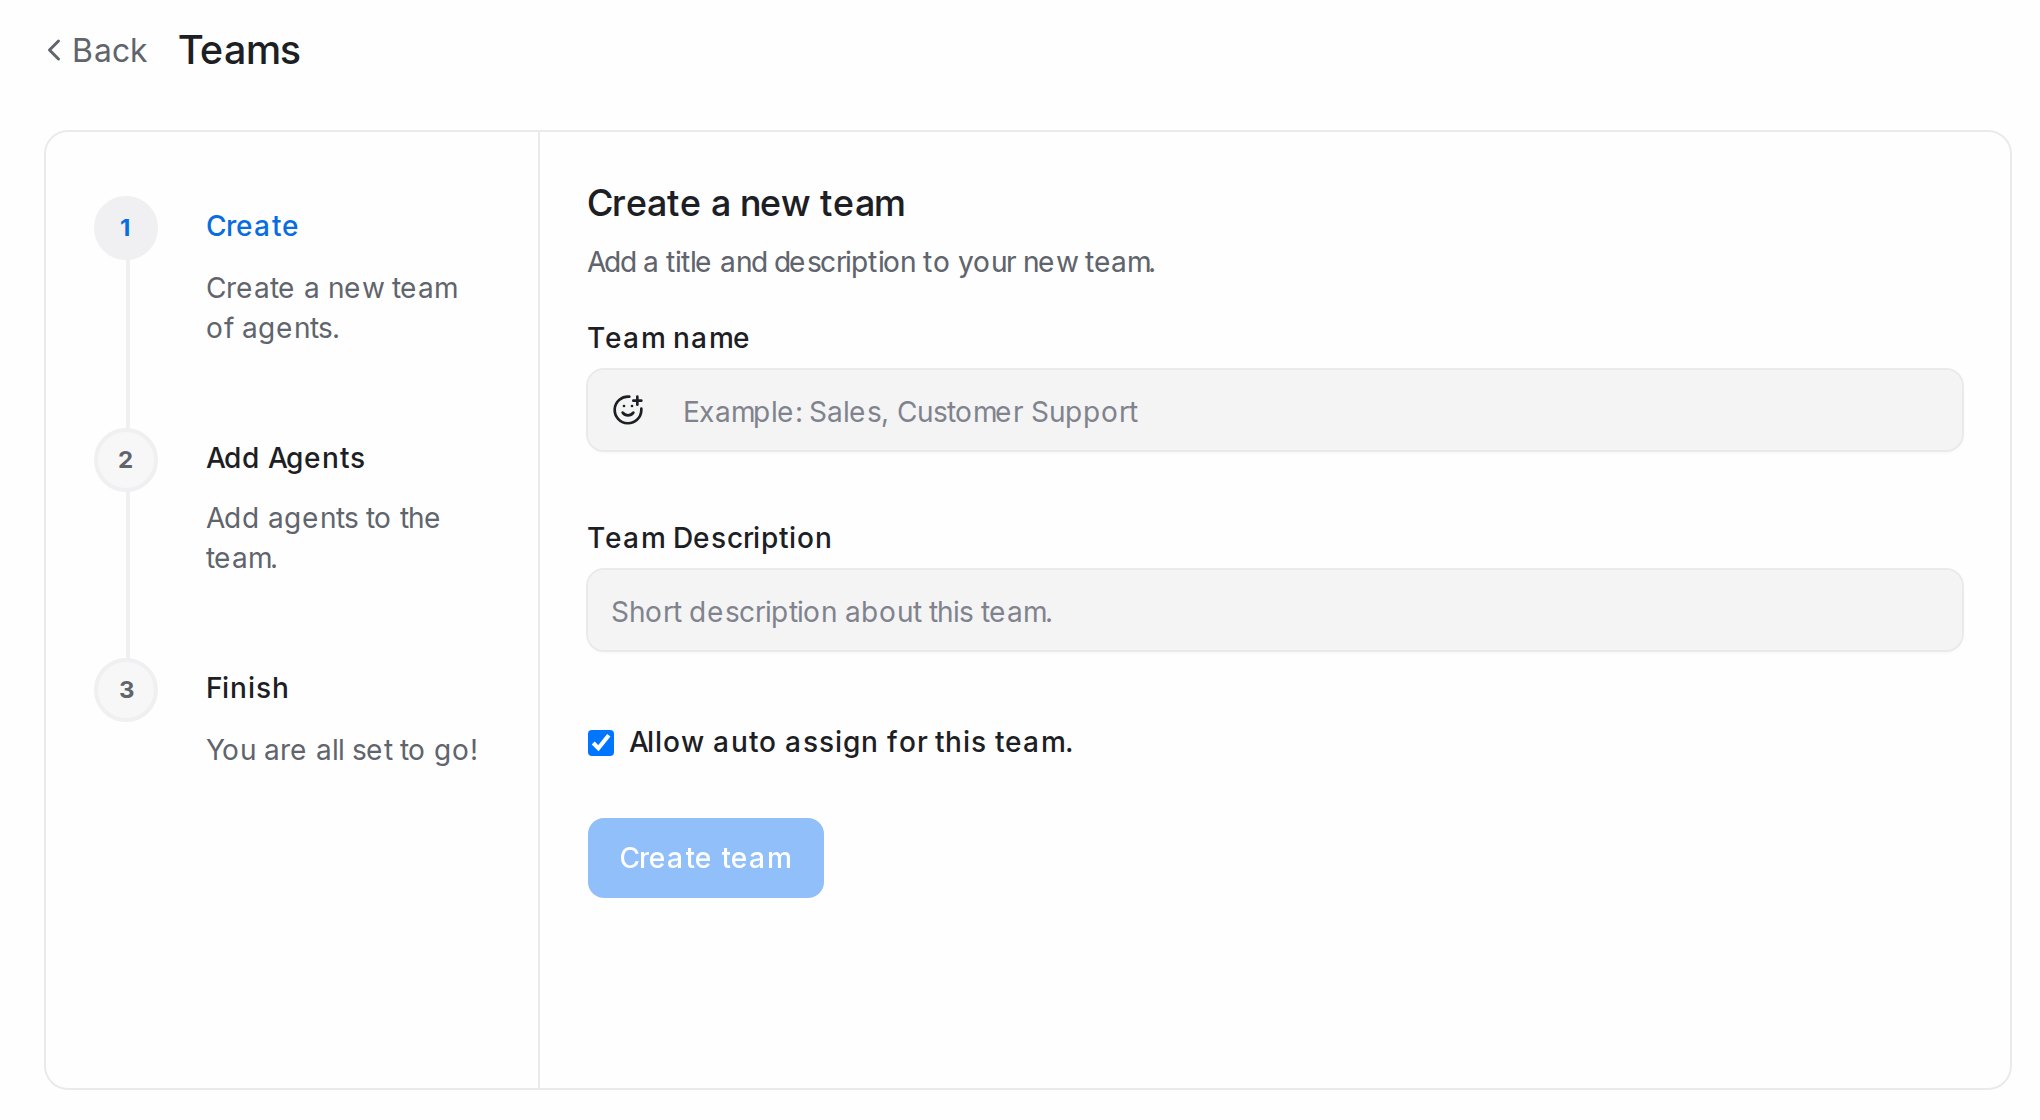
- Open Settings → Teams and click Create new team.
- Create: enter the Team name and Team Description. Allow auto assign for this team (on by default) hands team conversations to one of its members automatically. Click Create team.
- Add Agents: pick members and click Add agents; select all agents adds everyone.
- Finish.
The team then appears under Teams in the Conversations sidebar and wherever you route a conversation: Assigned Team in the details panel, Assign team in the right-click menu and bulk bar, automation rules and flow agent handoffs. Members are notified when a conversation is assigned to their team.
Edit team changes the details or Update agents in team. Delete removes a team; its conversations keep their agent and lose only the team.