
A portal can be published in several languages, and its settings decide where and how it appears.
Watch the walkthrough
Locales
Open Help Center → Locales. Each language card shows how many articles and categories it has, and whether it is the Default or still a Draft.
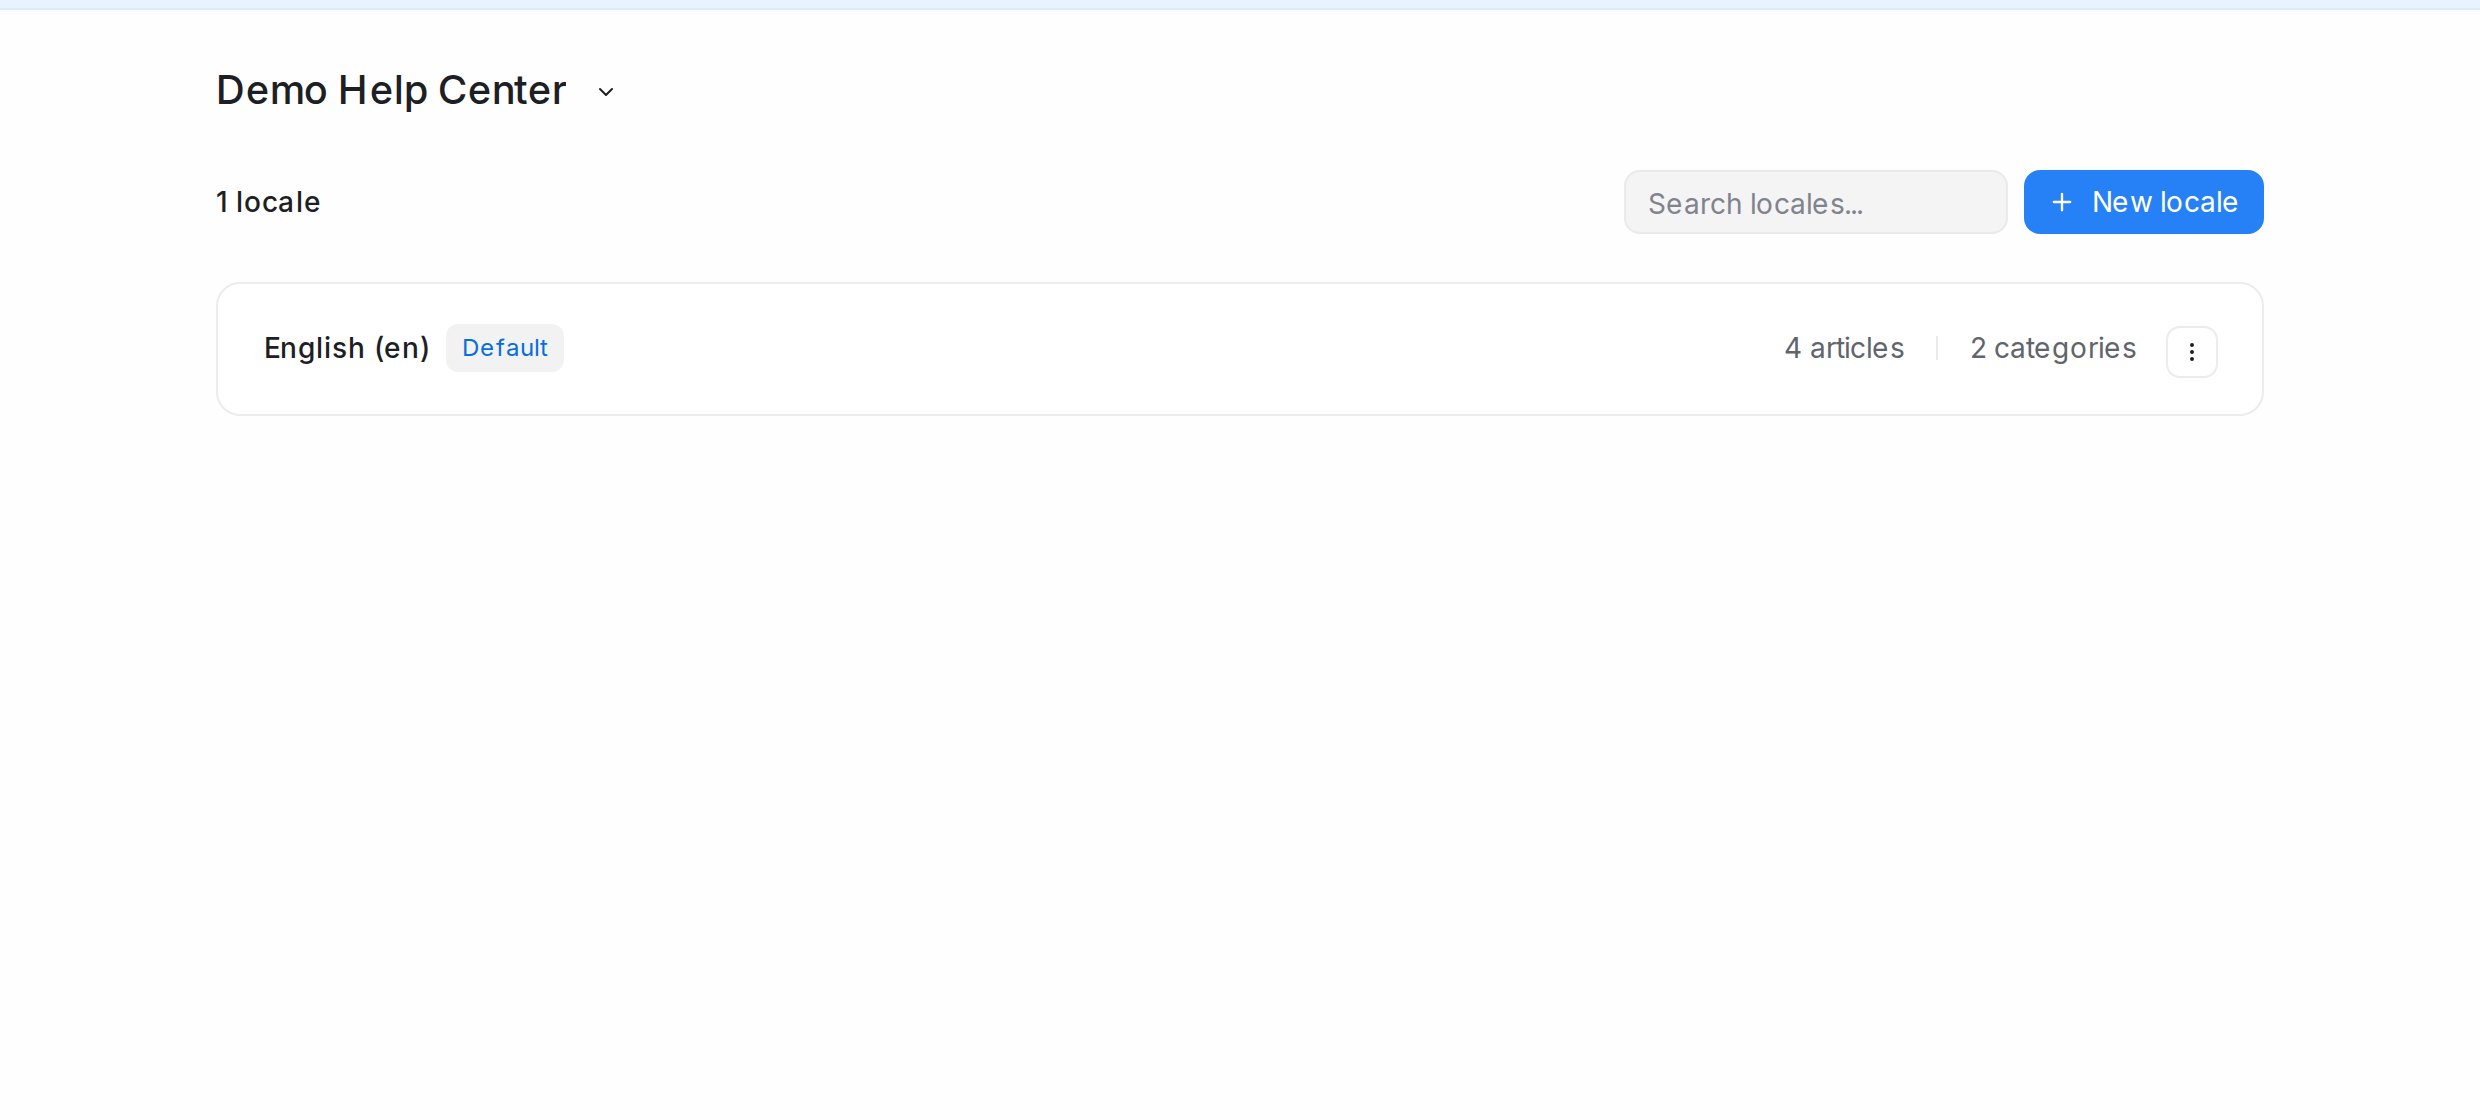
- New locale adds a language. A new locale starts as a draft, so customers do not see an empty section.
- The card’s menu offers Publish locale or Move to draft, Make default (the language visitors land on), Localize content (the portal Name, Page title and Header text in this language), Select recommended content (the categories and articles featured on that language’s home page) and Delete.
Articles and categories belong to one language. Write them in each language, or use Translate in the article list to draft translations; see Writing and publishing articles.
Portal settings
Open Help Center → Settings. The top of the page holds the portal’s name, logo, colours and widget; see Creating a portal. Below it:
Custom domain
Host the portal on your own address, such as help.yourbusiness.com. Click Add custom domain, enter the domain and Add domain. A DNS configuration dialog shows the record to add at your domain provider; Send instructions emails them to whoever manages your domain. Once the record is in place the portal answers on your address. Edit changes it later.
Appearance
Choose the layout: Classic, a welcoming home page with search and featured topics, or Documentation, side-by-side navigation that keeps every guide a click away. Under Social links, Add social link puts your social pages in the portal footer. Click Save changes.
Delete portal
Delete followed by the portal’s name removes the portal with all its articles and categories, after you confirm.