
Send the customer details your AI agent collects — names, phone numbers, requests — straight into a spreadsheet in your own Google Drive.
Watch the walkthrough
Connect
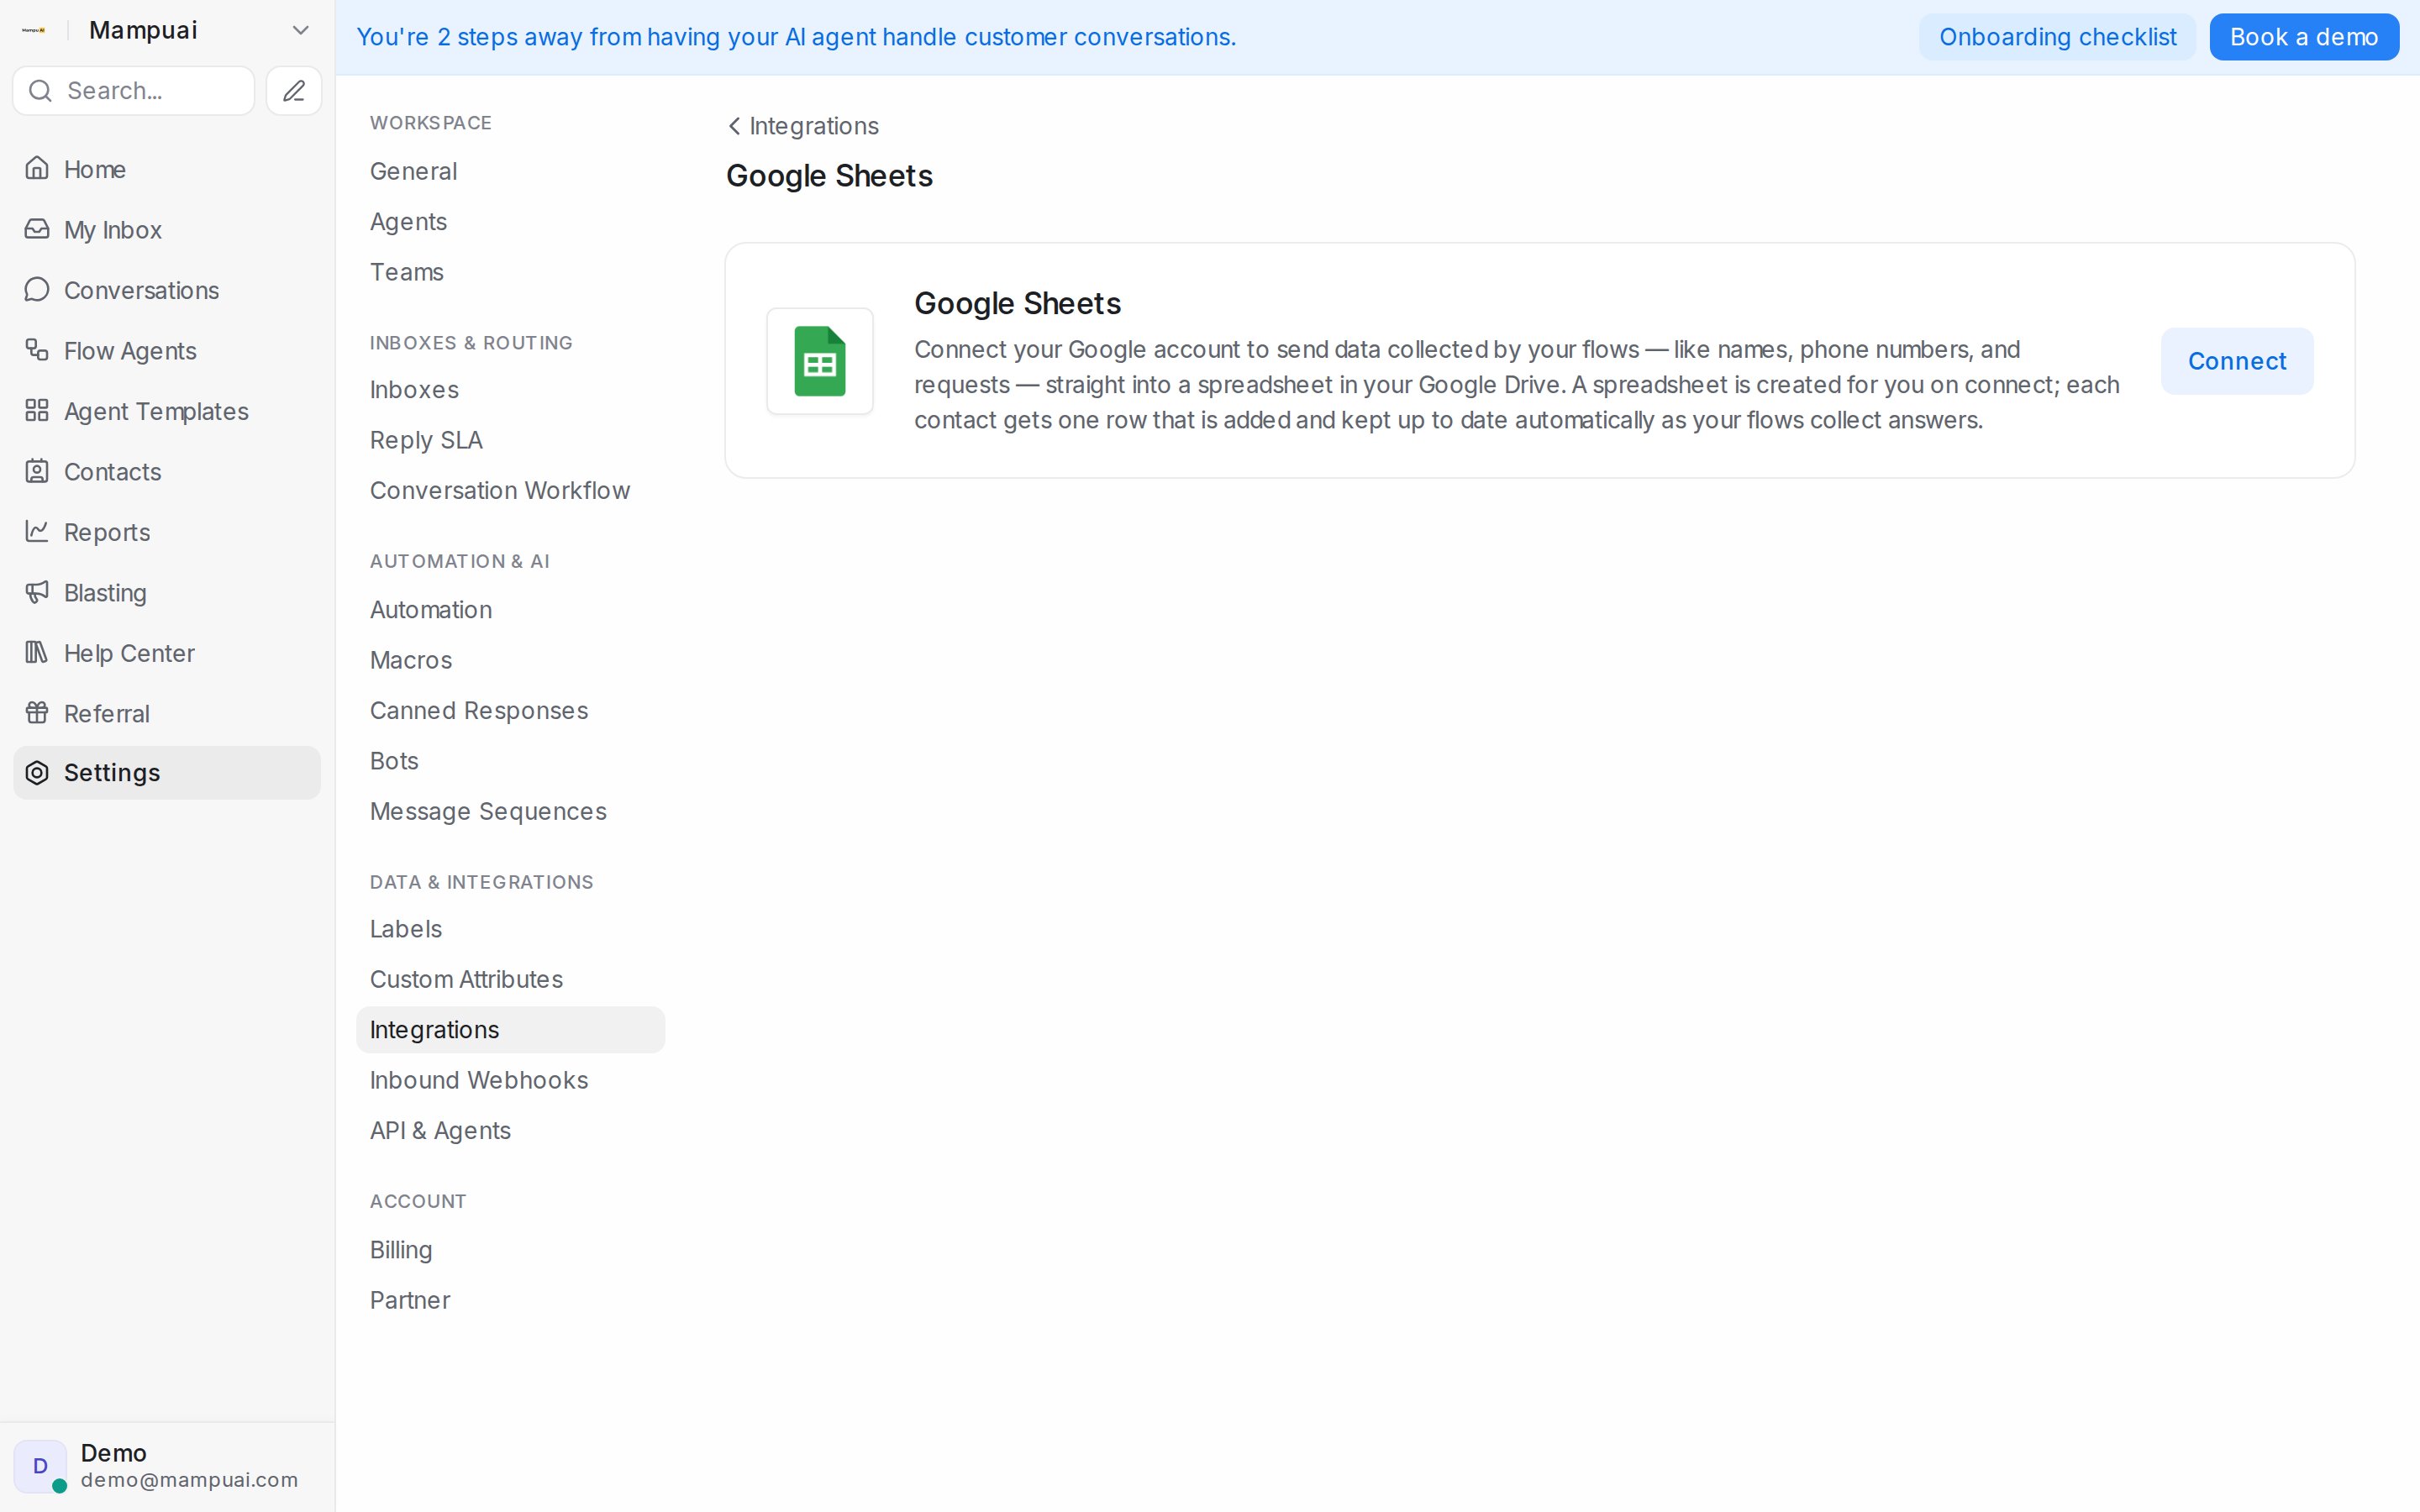
- Go to Settings → Integrations → Google Sheets.
- Click Connect and sign in with your Google account.
- A leads spreadsheet is created for you automatically — the page shows Connected as your Google email, with an Open the leads spreadsheet link.
To save leads to a spreadsheet you already have, click Use an existing spreadsheet and pick it from your Google Drive.
How rows land
A customer’s row is added as soon as they reach your Flow Agent, and it keeps updating as they answer. If the same customer chats with a flow again later, their row is updated instead of duplicated — so the sheet stays clean enough to work from directly.
The spreadsheet lives in your Google Drive: share it with your team, add your own columns, or plug it into any tool that reads Google Sheets.
Choosing the tab and columns
On the Google Sheets integration page you can decide exactly where leads land:
- Tab — pick which tab of the spreadsheet new leads are saved to.
- Column mapping — choose which sheet column each piece of data lands in (see What you can send to each column). Columns are read from your spreadsheet’s first row. Click Add mapping for each column, then Save mapping.
- Without a mapping, the sheet fills automatically: phone, name, status, last update and every collected answer.
- Match customers by — pick the sheet column that identifies the customer and the contact detail it holds (phone number or email). Click Add match condition to add fallbacks: the first condition that finds a row wins; otherwise a new row is added.
- Test mapping — checks your columns against the sheet and writes a test row to your spreadsheet, then removes it again.
What you can send to each column
Pick any of these as Data to send for a column:
- Contact fields — Contact name, Contact phone number, Contact email, First chatted at, Contact ID, Company, City and Country.
- Inbox — Inbox name, Inbox ID, Channel, and Inbox phone number: the WhatsApp or SMS number the customer messaged. It stays empty for channels without a number, such as Instagram or your website.
- Assignment — Assigned agent name, Assigned agent email, Team, and the Flow agent that talked to the customer.
- Conversation — Conversation ID, Conversation link (opens the chat in Mampu AI), Status, Priority, Labels, Conversation started at and Last activity at.
- Contact custom attributes and Conversation custom attributes — every attribute set up under Settings → Custom Attributes.
- Ad source — the Ad / post ID when the customer came from an ad.
- Flow answers — the answers your Flow Agents collect.
Each customer keeps one row, so the Inbox, Assignment and Conversation columns show their latest conversation.
Keeping the agent and team up to date
- When someone assigns the conversation to an agent or a team, or changes either one, the customer’s row updates within about a minute. You don’t have to wait for the customer’s next message.
- When a conversation is unassigned or its team is removed, the columns mapped to Assigned agent name, Assigned agent email and Team are cleared, so the sheet matches what you see in Mampu AI.
- Other empty values never overwrite what’s already in your sheet.
- Labels and status refresh whenever the row updates: when the customer answers, when the agent or team changes, or when an automation rule runs Sync lead to Google Sheets.
Per-agent sheets
Under Per-agent sheets, give a Flow Agent its own spreadsheet with its own column mapping: choose the Flow agent, then Pick a sheet from Drive or Create a new sheet. Agents without their own sheet keep using the default spreadsheet. Click Use the default sheet to switch an agent back — its own sheet stays in your Google Drive.
If you remove the default spreadsheet with Remove default sheet, leads only sync where your automation rules or per-agent sheets send them.
Syncing leads from an automation rule
The Sync lead to Google Sheets automation action writes a conversation’s lead row at the moment you choose — for example when a conversation is resolved or when a label is added. It’s useful for details that arrive after the flow has ended, such as a label your team adds later.
- Connect Google Sheets as described above.
- Open Settings → Automation, click Create Automation, and pick the Event and any Conditions.
- Under Actions, choose Sync lead to Google Sheets.
- Keep Integration default sheet, or switch to Custom sheet & tab (see below).
- Click Create.
With Integration default sheet, the row goes to the sheet and column mapping set up on the Google Sheets integration page:
- A conversation handled by a Flow Agent updates that customer’s existing row, and the agent’s own sheet and mapping apply if it has them.
- Conversations your team handled without a Flow Agent sync too: their contact and conversation details go to the default sheet.
Sending to a custom sheet and tab
Each rule can write to its own spreadsheet, tab and columns, so different rules can feed different sheets you already use.
- On the Sync lead to Google Sheets action, switch to Custom sheet & tab.
- Click Choose spreadsheet and pick one from your Google Drive.
- Select the Tab.
- Map the tab’s columns to lead fields. Leave the mapping empty and the standard lead columns are written for you.
- When you map columns, add a condition under Match customers by so each customer’s row is found and updated — the rule can’t be saved without one.
- Click Test mapping to check it — a test row is written to your spreadsheet and removed again — then save the rule.
Disconnecting
Click disconnect on the same page to stop new leads from being saved. The spreadsheet itself stays in your Google Drive with everything collected so far.